
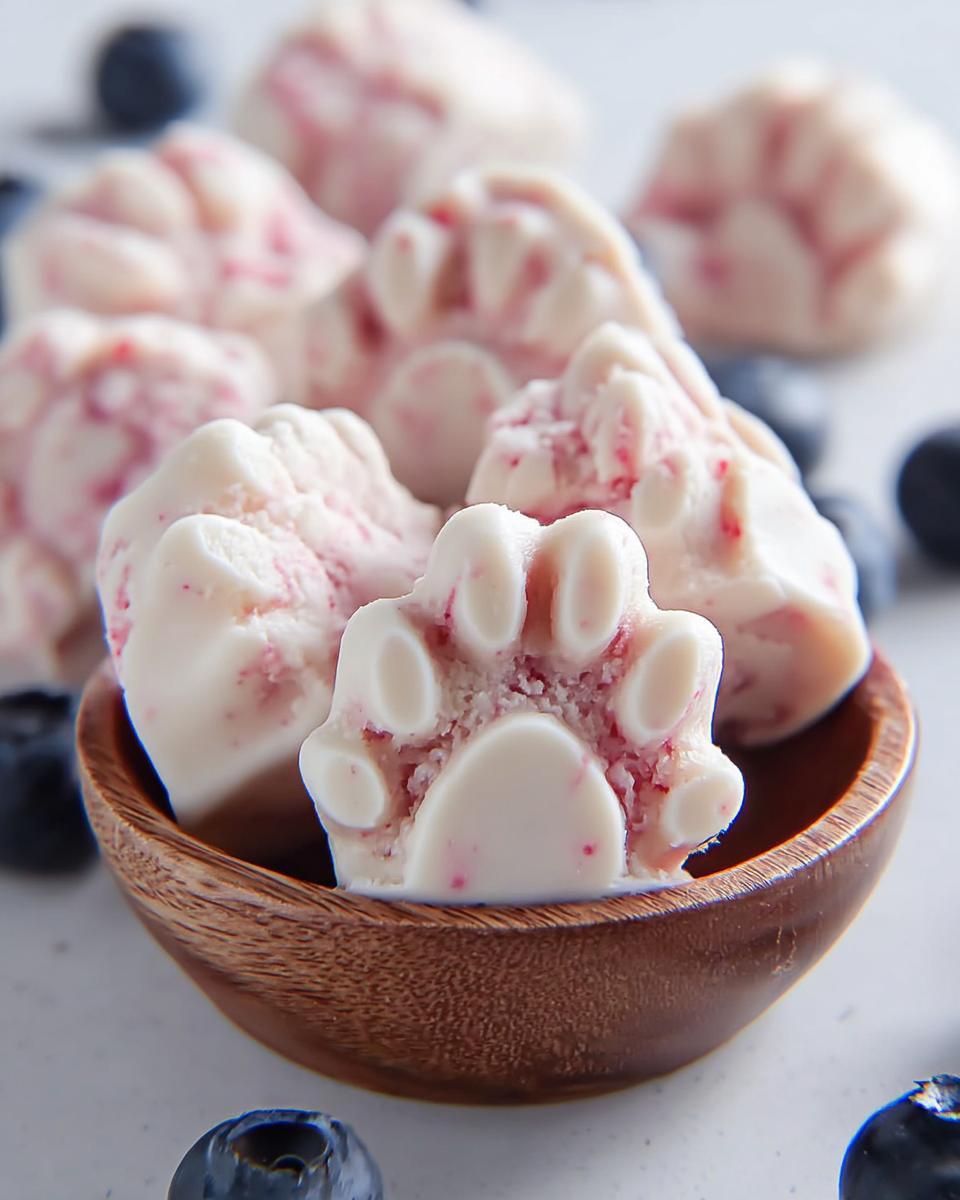
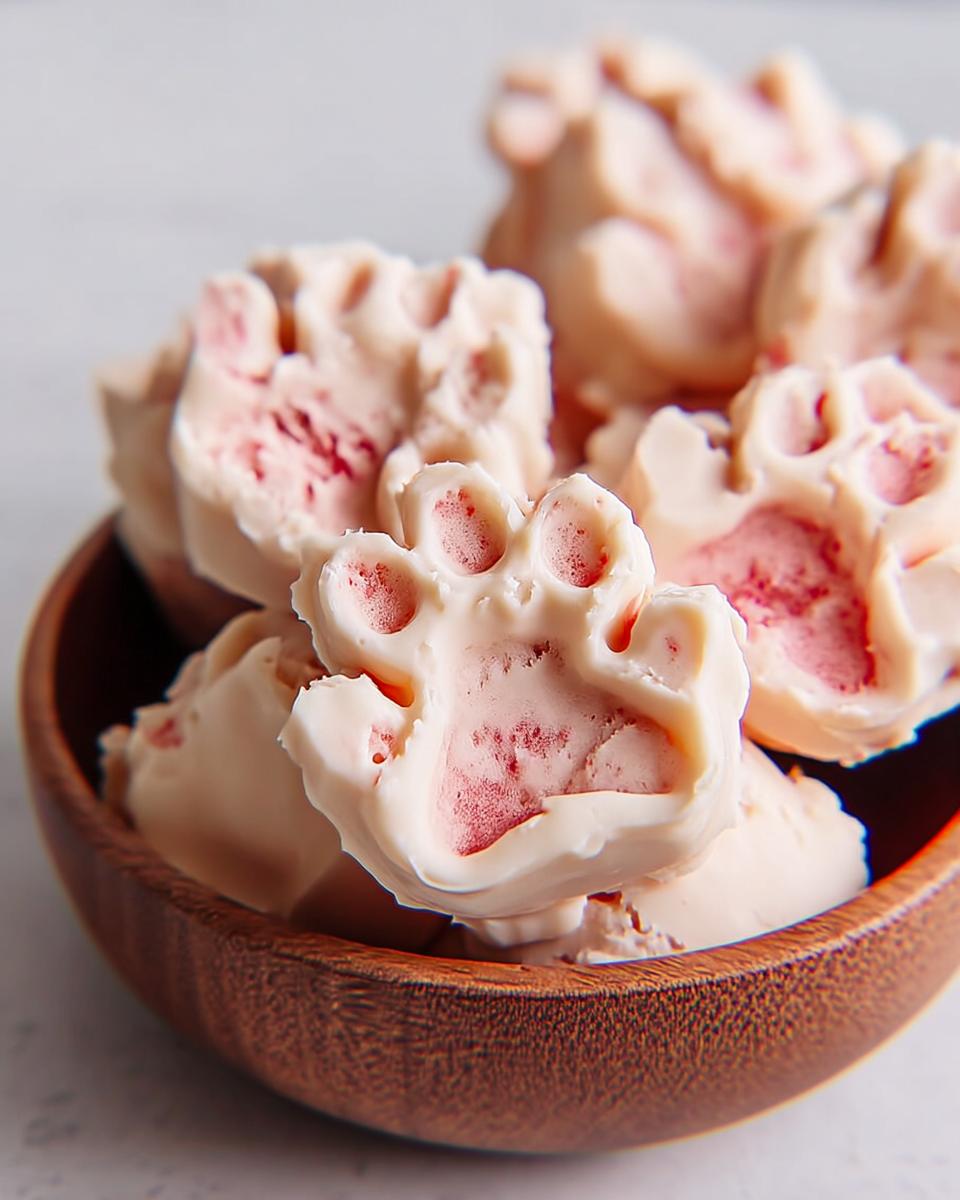
Oh, those blazing summer afternoons! When the pavement is too hot and my pups are panting like crazy, nothing beats bringing out a super special refresher. Forget fancy, complicated recipes; we’re going straight for instant relief with these amazing 2-ingredient Dog Ice Cream Treats. Ice cream treats became my favorite way to keep dogs cool and happy. Before you give your dog anything that looks like human ice cream, it’s smart to check in with experts, like looking over this advice from the AKC on ice cream safety. But don’t worry, ours are perfectly safe and so easy! When you’re done here, you might want to check out more of my ideas for awesome frozen treats, but for now, let’s whip up these frozen dog snacks!
Why These Dog Ice Cream Treats Are Perfect for Summer
When the heat rolls in, you need an immediate solution, and that’s why I rely on these Dog Ice Cream Treats! They are made for hectic days when you still want to spoil your best friend without spending ages in the kitchen. Seriously, they are lifesavers when you need quick, cooling relief.
These snacks are a huge hit because:
- They cool them down instantly!
- They use only two simple things we usually have on hand.
- They are significantly lighter than store-bought options. Check out my low-calorie snack ideas here!
Quick Prep Time for Instant Gratification
You have five minutes. That’s it! Seriously, it takes less time to mix these up than it does to find the leash. This quick prep means you can go from a panting pup on the porch to handing out delicious frozen dog snacks almost immediately. Total time saver!
Minimal Ingredients for Maximum Safety
When I’m feeding my dogs, I don’t want a long list of things I can’t pronounce. With just two ingredients, you know exactly what’s going into their tummy. Fewer ingredients means fewer chances for tummy aches, which gives me peace of mind while my dogs happily lick away!
Gathering Supplies for Your Dog Ice Cream Treats
Before we even think about mixing, we need the right gear! Making really great Dog Ice Cream Treats relies on having the right molds, especially since we’re not using a traditional ice cream machine. We want little perfect portions they can safely lick, not one giant block of ice!
Don’t overthink the equipment, though; simple works best. I highly recommend checking out my tips on making other fun frozen dog snacks, but for this specific recipe, you only need two things:
- A good mixing bowl. Nothing fancy needed here—just something deep enough so you don’t slosh the yogurt everywhere while mixing.
- Ice cube trays or small, sturdy silicone molds. This is where the magic happens! I use my standard ice cube trays because they give me uniform cubes, but any small cup works if you want a slightly bigger pop. Make sure whatever you pick is completely non-toxic for your furry friend!
See? Super easy. You probably already have everything sitting in your kitchen drawer right now, ready to go!
Ingredients for Amazing 2 Ingredient Dog Ice Cream Treats
I try to keep things super simple when making Dog Ice Cream Treats because I want them ready fast, and I need to be totally sure about what’s going into the mixture. This recipe is brilliant because it only calls for two core items, but the details matter, trust me!
You absolutely must use:
- One cup of plain yogurt. Make sure it’s full-fat and completely unsweetened! Absolutely NO artificial sweeteners, especially Xylitol—that’s a huge no-no for dogs. You can find more info on safe yogurt options for dogs right here.
- Half a cup of fruit puree. This is where you get creative, but always stick to dog-safe fruits like banana, pumpkin, or berries. Make sure it’s just the fruit; no added sugars allowed!
That’s it! Two ingredients, maximum flavor for your pup, and zero fuss for you.
Step-by-Step Guide to Making Homemade Dog Ice Cream
Okay, ready to turn these simple ingredients into something glorious? Making these homemade dog ice cream pops is ridiculously easy, but flow is important to make sure you get those perfect little frozen dog snacks that melt just right. I promise, if you follow these quick steps, you’ll have happy tail wags in no time!
We aren’t baking, which is great, but we are relying on the freezer, so make sure you have room! If you want to see another icy recipe, wow, you have to check out my frozen coconut banana dog pops idea once you master this one.
Mixing the Base for Your Frozen Dog Snacks
First things first: grab that mixing bowl! Take your full cup of yogurt and your half cup of fruit puree, and just pour them right in together. Now, don’t use your fancy stand mixer for this part—it’s too much power for this mild mixture. Just use a whisk or a wooden spoon.
Mix it well! You want this base to be completely smooth—no streaks of solid white yogurt next to clumps of fruit. Keep stirring and scraping down the sides of the bowl until everything looks like a beautiful, pale, uniform color. Trust me, if you leave unmixed yogurt in there, it will freeze icy hard and your dog won’t enjoy that texture.
Portioning and Freezing Your Dog Ice Cream Treats
This is where you need a steady hand. Carefully pour that lovely mixture into your chosen ice cube trays or silicone molds. Try to keep the tops relatively neat so they pop out nicely later. If you are using small cups or molds, pouring slowly prevents spills!
Once they are filled, gently cover the trays. This just keeps any stray freezer smells out. Then, they go into the freezer. Here’s the crucial part that takes patience: you need 4 to 5 hours, or until they are completely solid. Don’t cheat this step! Waiting for these Dog Ice Cream Treats to freeze solid is the hardest part, but that beautiful, icy-cold result is worth every minute of the wait!
Ingredient Notes and Substitutions for Dog Ice Cream Treats
When making these Dog Ice Cream Treats, you might wonder about swapping things out. I get it—sometimes you don’t have banana puree, or maybe you’re trying to find something extra gentle for a sensitive pup. I always stress sticking close to the original two ingredients because they are simple and safe! But since you asked, let’s talk about making smart swaps only after you’ve read up on treats for sensitive tummies, just in case your dog is picky.
First off, that yogurt is non-negotiable—it has to be plain and unsweetened. If you see anything listing Xylitol (sometimes called birch sugar), toss it out immediately! That ingredient is toxic to dogs, and while it’s rare in plain yogurt, it’s always better to double-check the label before you mix anything up.
For the fruit puree, you have some yummy flexibility! If bananas are out, pumpkin puree (the plain canned kind, not pie filling!) works wonders. It’s great for digestion, too. Berry purees—like blueberry or strawberry—are also fantastic additions that keep the frozen dog snacks vibrant and tasty. Just remember, whatever fruit you pick, make sure it’s just the fruit! No sugar, no spices—we are making sure these Dog Ice Cream Treats are perfect just for them.
Tips for Serving These Summer Dog Treats Perfectly
You did it! Your amazing watermelon mint dog pops (just kidding, it’s the yogurt treats!) are frozen solid. But hold on, don’t just plop that rock-hard cube in front of your dog! Serving these summer dog treats correctly is just as important as mixing them right, especially when it comes to safety and enjoyment.
I always follow the final step in the instruction list, which tells you to let them sit out for just a minute or two. Why? Because if they are straight from a near-zero freezer, they can be too cold, too fast. Giving them just 60 seconds on the counter lets the very outer layer soften up just enough for a nice, satisfying lick instead of a hard chomp. Remember, these are still frozen dog snacks, so we want slow enjoyment!
Also, always be mindful of how many you give out. While these are simple recipes, they are still rich compared to their normal diet. Think of these as just that—a treat! One or two cubes on a porch swing afternoon is plenty to cool them down without overdoing it. When you serve them, make sure you are supervising, especially if you have a fast eater. You definitely don’t want them trying to swallow a whole cube at once.
For extra safety tips during hot weather, always check reliable sources like the RSPCA website regarding heatstroke. Keeping cool with these frozen dog snacks is part of the fun, but safety comes first!
Storage and Making Ahead for More Dog Ice Cream Treats
The best part about this recipe? You can totally make these ahead of time! Seriously, I always double or triple the batch because my dogs inhale them the second they come out of the freezer. If you’re doing a big bake (or mix!), remembering to store your frozen dog snacks correctly is key to an easy treat later.
Once those yogurt cubes are totally solid—after those agonizing 4 or 5 hours—pop them out of the trays. Don’t just dump them into a plastic bag! You need to layer them. Pop a piece of parchment paper in the bottom of your freezer-safe container, drop in a layer of the frozen dog snacks, add another bit of parchment, and keep stacking. This stops them from freezing into one giant, un-scoopable block.
They stay perfectly delicious for about a month, maybe even longer if your freezer is reliably cold. Making a stash means you’re always prepared for that random heatwave, so you can always have summer dog treats ready to go! Need tips on making things ahead for senior dogs? Check out my guide here!
Frequently Asked Questions About Dog Ice Cream Treats
I know recipe details can bring up a lot of questions, especially when we’re making something special for our pups! Since these are totally different from a baked good, I wanted to address a few things I always get asked about these frozen dog snacks. If you’ve managed to resist temptation this long, you’ll want to peek here before you serve them up for the first time. If melting is your main concern, check out my tips on avoiding drips in my frozen pop article!
Can I add peanut butter to these Dog Ice Cream Treats?
Oh, absolutely YES! My dogs flip out when I add peanut butter. It boosts the flavor so much. BUT, and this is a big but, you MUST ensure your peanut butter is safe. Look closely at the ingredients and make sure there is zero Xylitol in the jar. If you add too much, though, you might notice the texture gets a little softer right away because the fats in the peanut butter change how quickly it freezes solid. Just use a spoonful mixed in with the yogurt—it’s heavenly!
How long do these frozen dog snacks last in the freezer?
Because they are mostly yogurt and fruit without preservatives, they are best enjoyed fresh! However, if you’ve made a big batch of Dog Ice Cream Treats using the layering method I talked about, they are perfectly safe and tasty for about one to two months. After that, they might start getting a little freezer-burned or lose a tiny bit of moisture, but they’re always safe if they’ve been kept in a sealed, airtight container the whole time. Mine rarely last more than two weeks, though!
About the Recipe Creator
This simple recipe is brought to you by me! I’m always looking for ways to keep my pups happy and cool, whether it’s a sunny day or just a Tuesday afternoon. You can find out more about my passion for happy pups and simple cooking on my About Page.

Amazing 2 Ingredient Dog Ice Cream Treats
Ingredients
Equipment
Method
- Mix the yogurt and fruit puree together until the mixture is smooth.
- Pour the mixture into ice cube molds or small, dog-safe cups.
- Freeze the treats for 4 to 5 hours, or until they are completely solid.
- Let the treats sit out for a short time before serving them to your dog.