Listen, I get it. You want the absolute best for your pup, but sometimes those fancy store-bought treats are just packed with stuff you can’t pronounce. That’s why I lean into dehydration! It’s the simplest way to make something amazing, knowing exactly what went into it—zero secrets, zero fillers. Dehydrating beef became a reliable way to control ingredients fully, and honestly, it’s so satisfying!
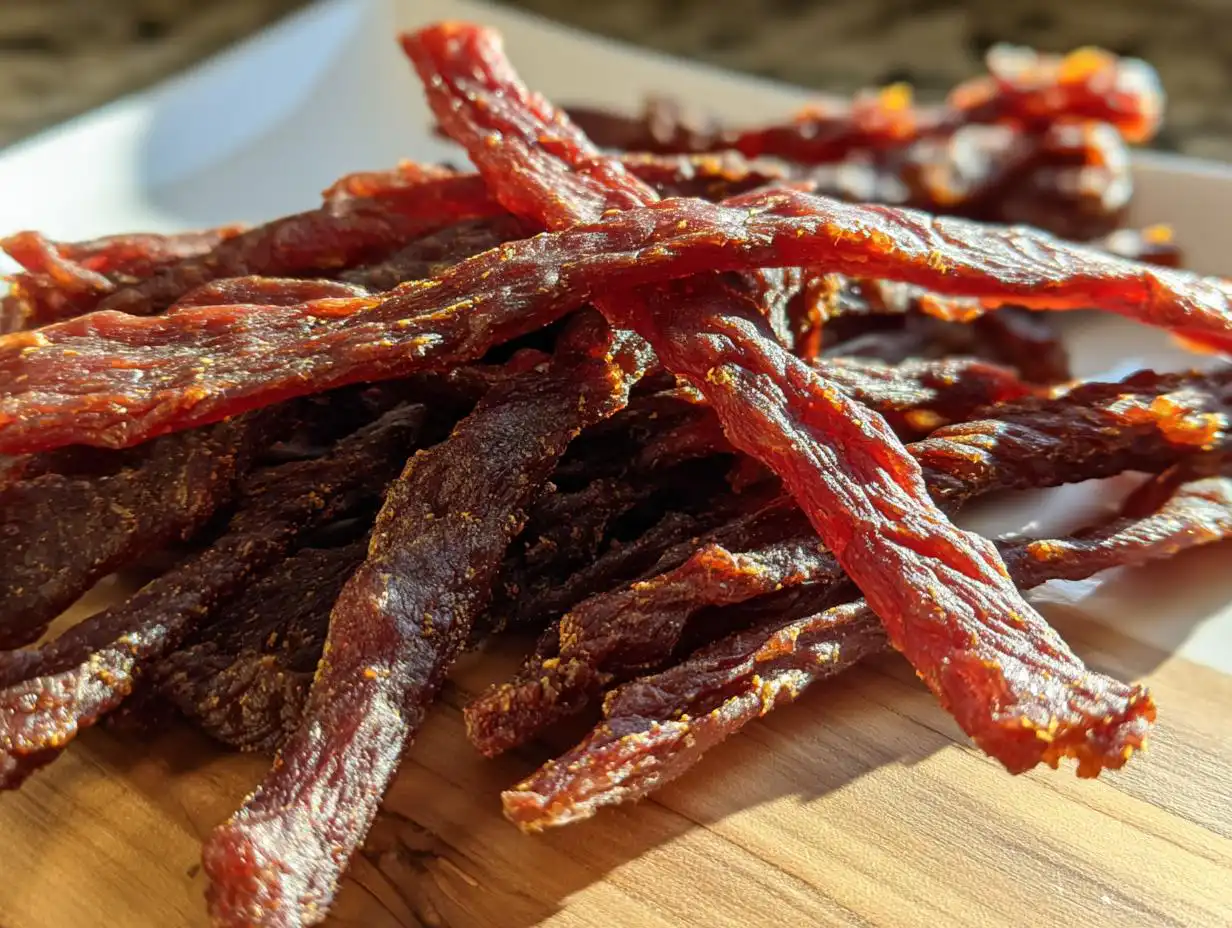
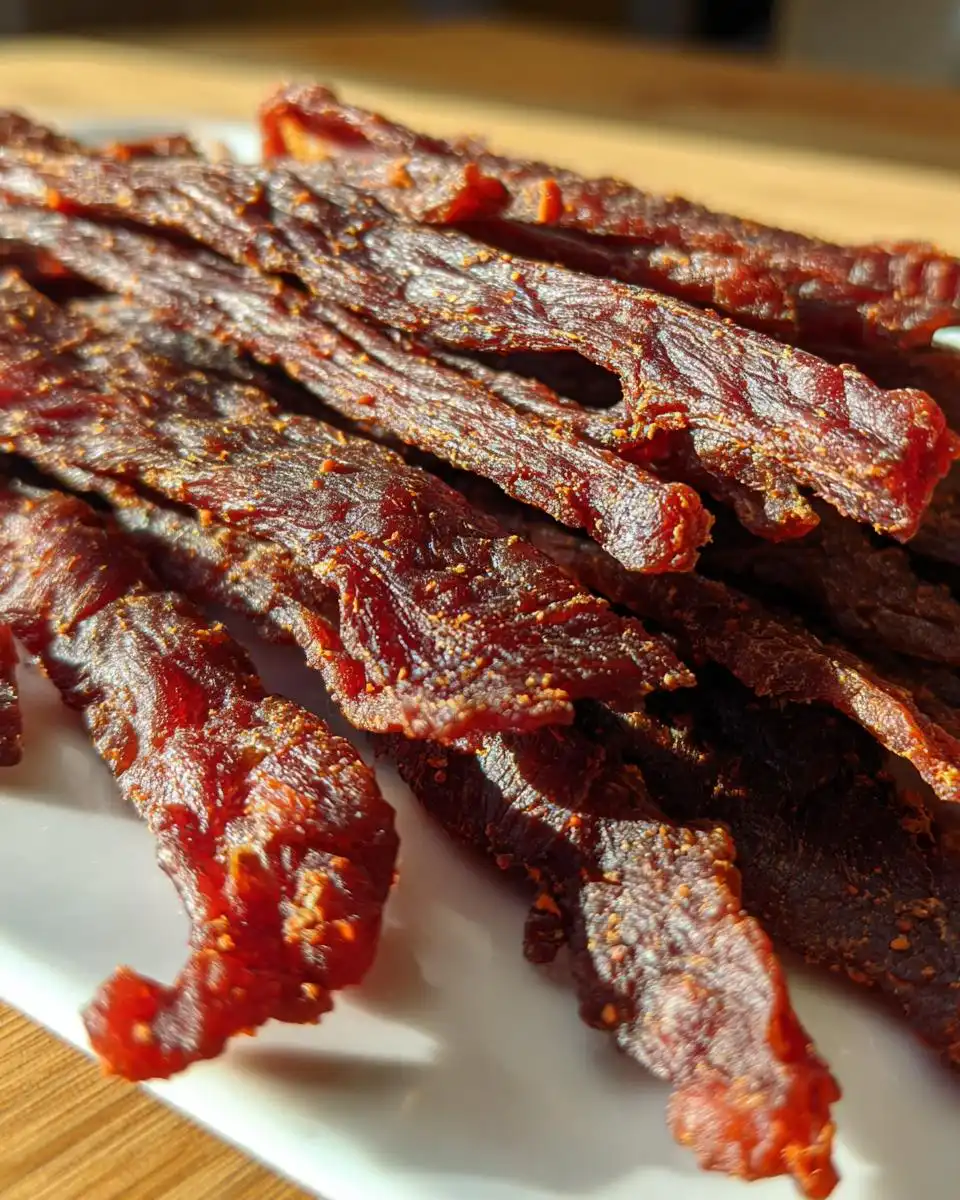
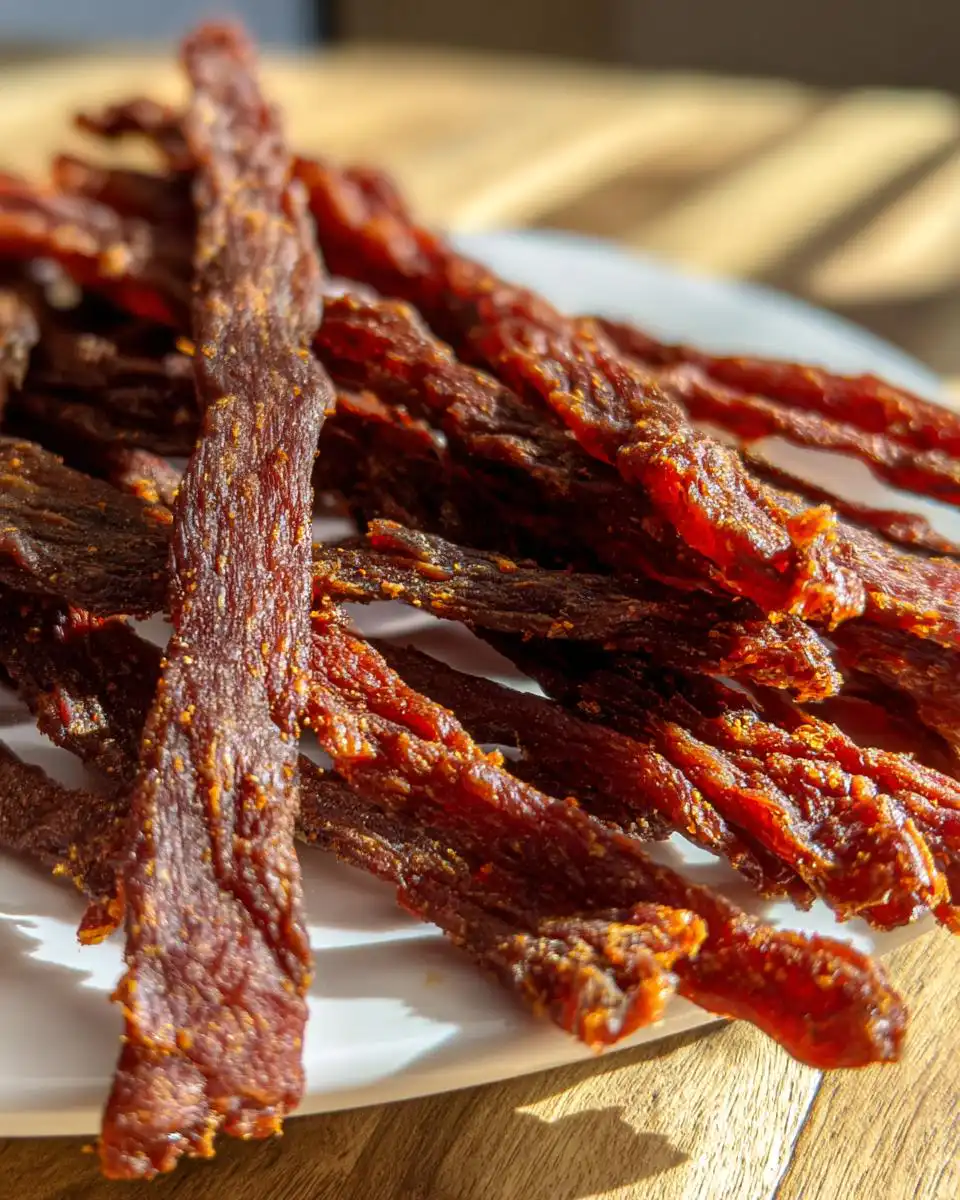
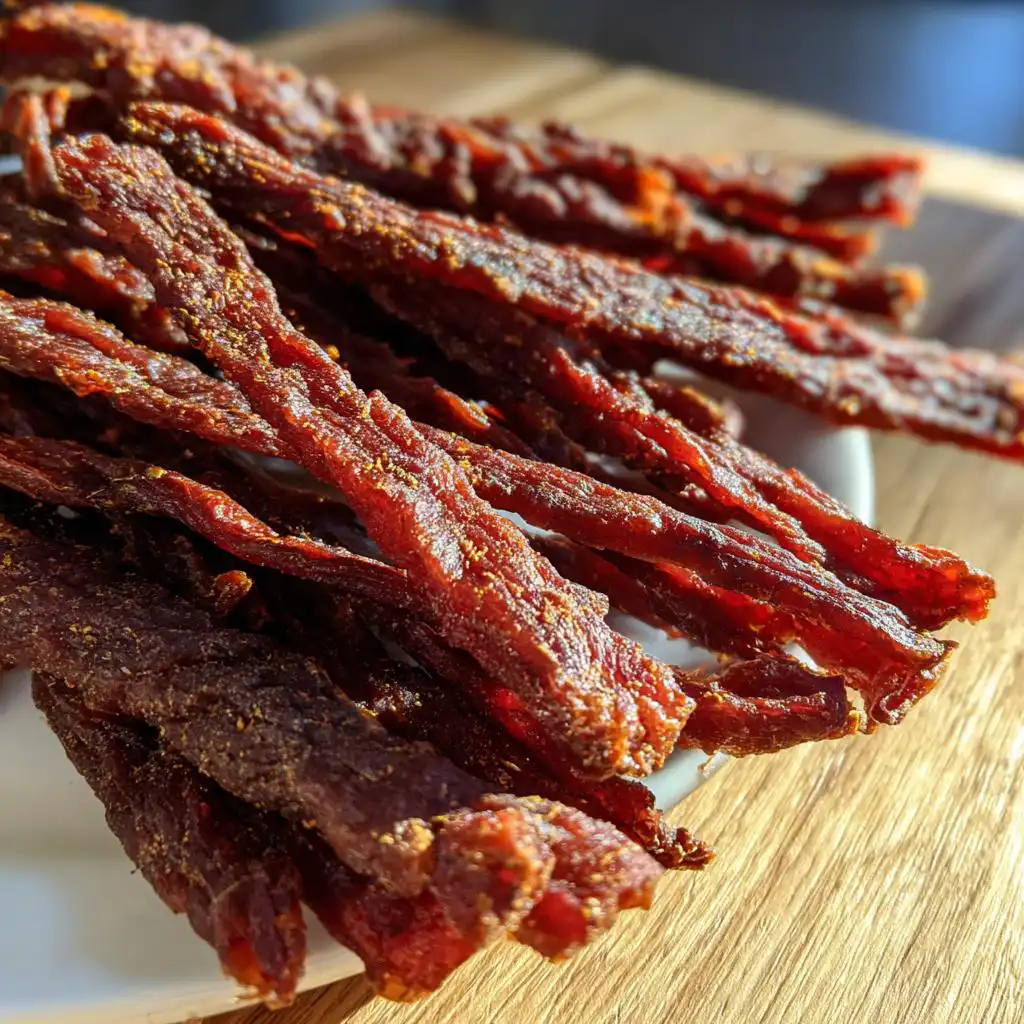
If you’ve been searching for a foolproof way to make long-lasting snacks that your dog will absolutely adore, you’ve found it. We are diving deep into making the best DIY Dehydrated Beef Strips for Dogs right now. Trust me, once you try this, you won’t go back! Make sure you check out some of my other single-protein ideas over at beef jerky treats for dogs if you love this approach.
Why You Will Make DIY Dehydrated Beef Strips for Dogs
Honestly, once you start making your own DIY Dehydrated Beef Strips for Dogs, you realize how easy it is to give your best friend something truly wholesome. You’re in total control here, which is everything!
-
Ingredient Control and Trust
This is huge for me. When you use plain beef and nothing else, you have one hundred percent trust in what your dog is crunching on. No funny business, no hidden sodium! You know it’s safe.
-
Perfect for Chewing
These strips make amazing Dog Treats for Chewing. They satisfy that natural instinct to gnaw and work at something satisfyingly tough. They last ages, too, which beats that instant-gone store-bought stuff any day.
Essential Equipment for DIY Dehydrated Beef Strips for Dogs
You really don’t need a fancy setup for these DIY Dehydrated Beef Strips for Dogs. Keep it simple! The key investment is a good dehydrator, which makes this whole process basically hands-off once you load it up. You’ll also need a very sharp knife for getting those perfect, even strips.
Here’s the shortlist of what you need on your counter:
- A reliable dehydrator – this is your workhorse!
- A sharp knife for slicing thin strips.
Ingredients for Your DIY Dehydrated Beef Strips for Dogs
When it comes to making DIY Dehydrated Beef Strips for Dogs, I usually end up laughing at how short this ingredient list is! It’s just one thing, pure and simple. But that one item needs your attention before it even hits the dehydrator trays, especially if you want these Dehydrated Dog Treats to last.
Also, if you are looking for other single-protein ideas, you absolutely have to check out my post on dehydrated chicken breast dog treat strips. It follows the same trusty method!
-
Preparing the Lean Beef
You only need one thing: lean beef strips, and I mean lean. You must use unseasoned beef—no salt, no broth, nothing! The absolute mandate here is: Lean beef strips (unseasoned) – must have ALL visible fat trimmed off. Fat goes rancid really fast, and we want these chews to be safe and last a long time.
Step-by-Step Instructions for Dog Dehydrator Recipes
Okay, ready to dive into the actual process? This is where those fancy Dog Jerky Recipes you see everywhere get made real, and honestly, it’s super straightforward once you know the little tricks. Remember, success in dehydration is all about airflow and patience!
I’ve laid out the steps exactly as I do them. When I make these, I aim for strips about 1/4 inch thick for even drying—it makes a big difference in getting them batch-ready at the same time. For more ideas on combining proteins, take a peek at my post on amazing potato chicken jerky strips recipe!
-
Trimming and Slicing the Beef
First things first, go back over those strips of beef. Seriously, take your time and make sure absolutely every bit of white fat is gone. Remember what we talked about? Fat equals sad, speedy spoilage. Once they are perfectly lean, slice them up nice and long. Don’t stress too much about making them identical, but aiming for about 1/4 inch thickness helps everything dry evenly.
-
Loading the Dehydrator Trays
Now, grab your dehydrator trays! This part is non-negotiable for good results: lay the beef strips flat. They cannot overlap one single bit! If they are layered up, you just steam that section, and you won’t get the true jerky texture. Give them space to breathe, that’s the secret to good circulation.
-
The Dehydration Process and Timing
Set your machine right to 65°C (150°F). This temperature is the sweet spot for safely dehydrating the meat without cooking it too fast. You’ll let them run for anywhere between 7 to 9 hours. It really depends on how thick you sliced them, so keep an eye on them after the 7-hour mark.
-
Checking for Doneness
Don’t just pull them out when the timer goes off! You need to test them. Pull one or two of the thicker strips out. When they are done, they should bend slightly and make a definite snap sound—not crackle like a cracker, but a firm snap. If they are still flexible and bendy without snapping, pop them back in for another hour. Always cool them completely before storing, by the way!
Tips for Perfect DIY Dehydrated Beef Strips for Dogs
Even with simple recipes like these DIY Dehydrated Beef Strips for Dogs, a couple of expert tips can make the difference between a good chew and an absolutely perfect, long-lasting treat. Since we are dealing with meat, quality control is just as important as flavor when putting together these Dog Jerky Recipes!
-
Why Fat Content Matters in Dog Jerky Recipes
I cannot stress this enough: fat is the enemy of shelf life. If you skip trimming the fat, even a tiny bit, that fat will go rancid sitting in the pantry. Rancidity is bad news for your pup, and it dramatically shortens the time these Homemade Dog Chews actually last. You want them to last weeks or months, right? Then make sure the meat you put in is as lean as possible. It smells better, keeps better, and is safer!
-
Ensuring Full Drying
When you pull your trays out around the 7-hour mark, you’re going to have some strips that are cracker-dry and others that still look a little floppy. That’s normal; beef isn’t always perfectly uniform! If you notice the edges are snapping but the center of a thicker piece is still bending, just pull the ready ones off the tray and place those slightly thicker ones back in alone.
You can even switch trays around if your machine’s heat isn’t totally even. I find if I just rotate the trays top-to-bottom halfway through the process, I get a much more consistent result. It takes an extra minute, but it saves you from storing slightly under-dried strips!
For more tips on keeping your dehydrator snacks top-notch, especially when handling different proteins, check out my guide on dehydrated chicken breast dog treat strips.
And just a small note on food safety since we’re working with meat: always be mindful about cross-contamination. If you are worried about handling raw meat, it’s a good idea to familiarize yourself with zoonotic disease prevention, just like the guidelines suggest over at the World Health Organization. Wash your hands and your cutting board really well after slicing!
Storage and Shelf Life for Homemade Dog Chews
Phew! You successfully made those beautiful DIY Dehydrated Beef Strips for Dogs. Now for the tricky part: keeping them perfect! Once they’ve completely cooled down—and I mean totally room temperature, zero warmth left—you need to seal them up tight.
I swear by glass airtight containers for my Homemade Dog Chews; they just seal better than plastic bags. Pop the cooled strips right into the container and seal it.
Since we didn’t add any salt or weird additives, these stay great right on the counter at room temperature for several weeks, maybe even a couple of months, as long as your drying process was thorough! For tips on making sure all your Homemade Dog Treats last this long, take a look at my general guide on homemade dog treats.
Frequently Asked Questions About Natural Dog Treat Recipes
I always get questions when people first look at Natural Dog Treat Recipes this simple. It’s because we’re used to things being complicated, right? Nope! These questions are great because they show you’re careful about what you feed your dog, which is exactly what we want!
-
Can I make DIY Dehydrated Beef Strips for Dogs in an Oven?
You certainly can try! Ovens are just giant hot boxes, though, and they aren’t designed for long, slow drying the way a dehydrator is. If you have to use the oven, set it to the absolute lowest temperature it can go—usually around 170°F or even lower if possible. You must prop the door open with a wooden spoon or something safe so the moisture can escape rather than just getting baked in. Honestly, though, the dehydrator is better for these DIY Dehydrated Beef Strips for Dogs because you get guaranteed consistent heat.
-
What is the difference between these and store-bought Dehydrated Dog Treats?
It’s night and day! Store-bought Dehydrated Dog Treats often sneak in salt, sodium nitrate (used in curing jerky for people), or other fillers to keep them soft or enhance flavor. My recipe? It’s just beef. That’s it. No hidden ingredients means you know exactly what your dog is getting. That purity makes them truly Healthy Dog Treats Homemade.
-
How long do these Homemade Dog Treats last?
This depends entirely on how dry they are! If you followed the instructions and they snap nicely (the crucial step!), these Homemade Dog Treats will last for several weeks, easily, stored in an airtight container at room temperature. Really, if you got them bone-dry, you could probably push that to a couple of months. Just check them for any sign of softness or moisture before serving after the first three weeks!
If you want to see other safe, simple snacks, check out my main resource for homemade dog chews!
Nutritional Estimates for Healthy Dog Treats Homemade
Okay, so because these Healthy Dog Treats Homemade are literally just beef, the numbers are pretty easy to figure out, but remember—this is an estimation based on using *very* lean tops round beef with zero fat!
For every 100 grams of these amazing DIY Dehydrated Beef Strips for Dogs, you’re looking at roughly:
- Calories: Around 250-300 kcal
- Protein: About 50g or more!
- Fat: 5g or less (because we trimmed it!)
- Carbs: 0g (Nope, zero carbs here!)
If you want to see how these compare to some cooked homemade meals, check out my collection of healthy dog food recipes.
Share Your DIY Dog Treats Creations
That’s it! You’ve done it! You’ve created amazing, wholesome DIY Dehydrated Beef Strips for Dogs that you know are perfect for your pup. I just love seeing what everyone makes in their kitchens. It makes all these Homemade Dog Treats recipes worthwhile when I hear how much your pups love them!
Did this recipe work perfectly for you? I’d be so grateful if you’d take a moment to leave a quick rating below. And seriously, if you snapped a picture of your dog happily chewing on one of these fantastic DIY Dog Treats, please share it! Tag us on social media so I can see your great work. We share lots of success stories and drying tips over at homemade dog treats!
-
About the Author: Hanna Sullivan
By Hanna Sullivan – Recipe Adaptation Specialist
Hanna Sullivan brings her expertise in adapting everyday ingredients into pup-friendly recipes at Happy Pup Kitchen. Her gentle and thoughtful approach ensures that each treat is not only safe but also fun and appealing for dogs of all sizes. Hanna’s mission is to make homemade dog treats simple, reliable, and filled with love.
DIY Dehydrated Beef Strips for Dogs
Ingredients
Equipment
Method
- Trim all visible fat from the beef.
- Slice the beef into long strips.
- Lay the strips flat on the dehydrator trays, ensuring they do not overlap.
- Dehydrate at 65°C (150°F) for 7 to 9 hours.
- Cool the strips completely. The strips are done when they snap when bent slightly.