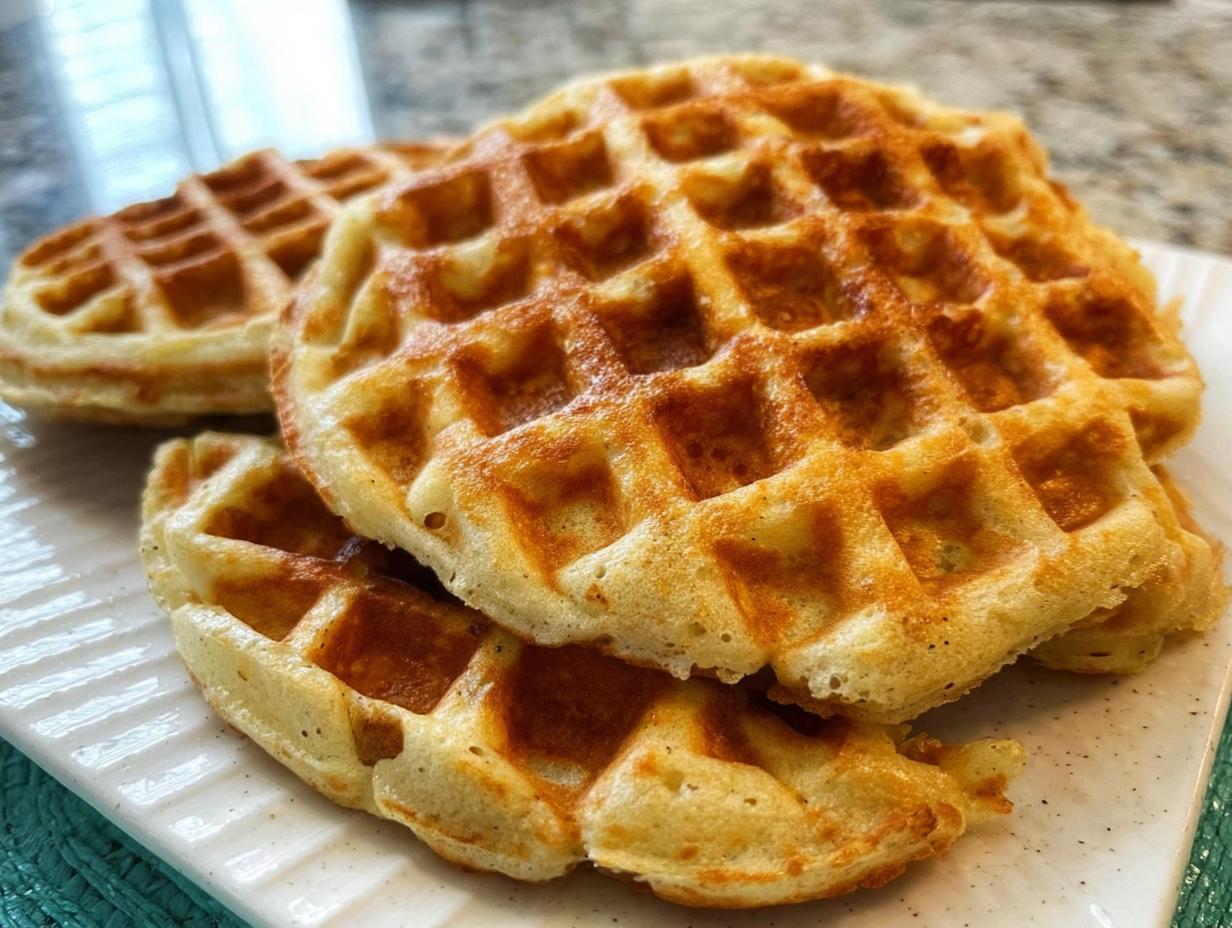
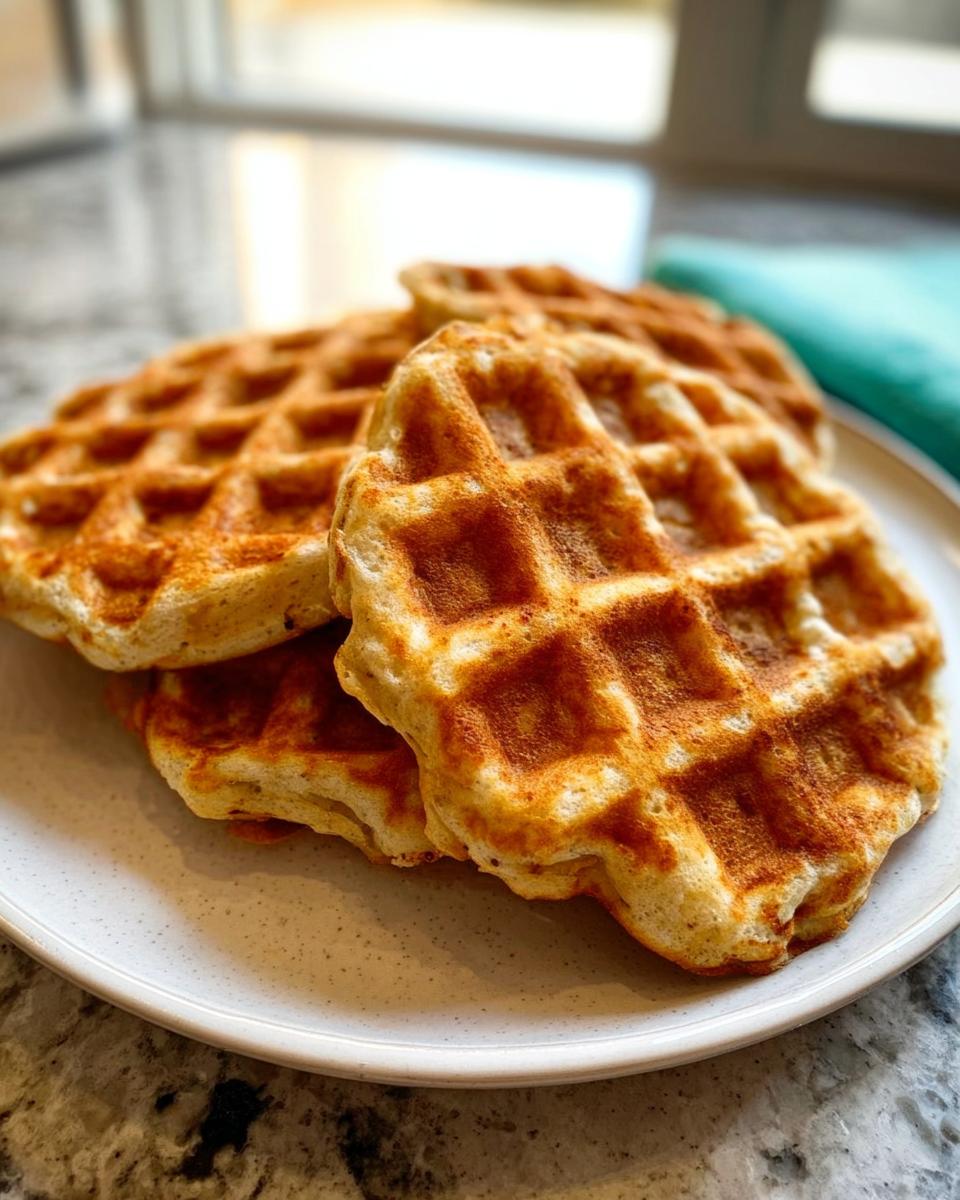
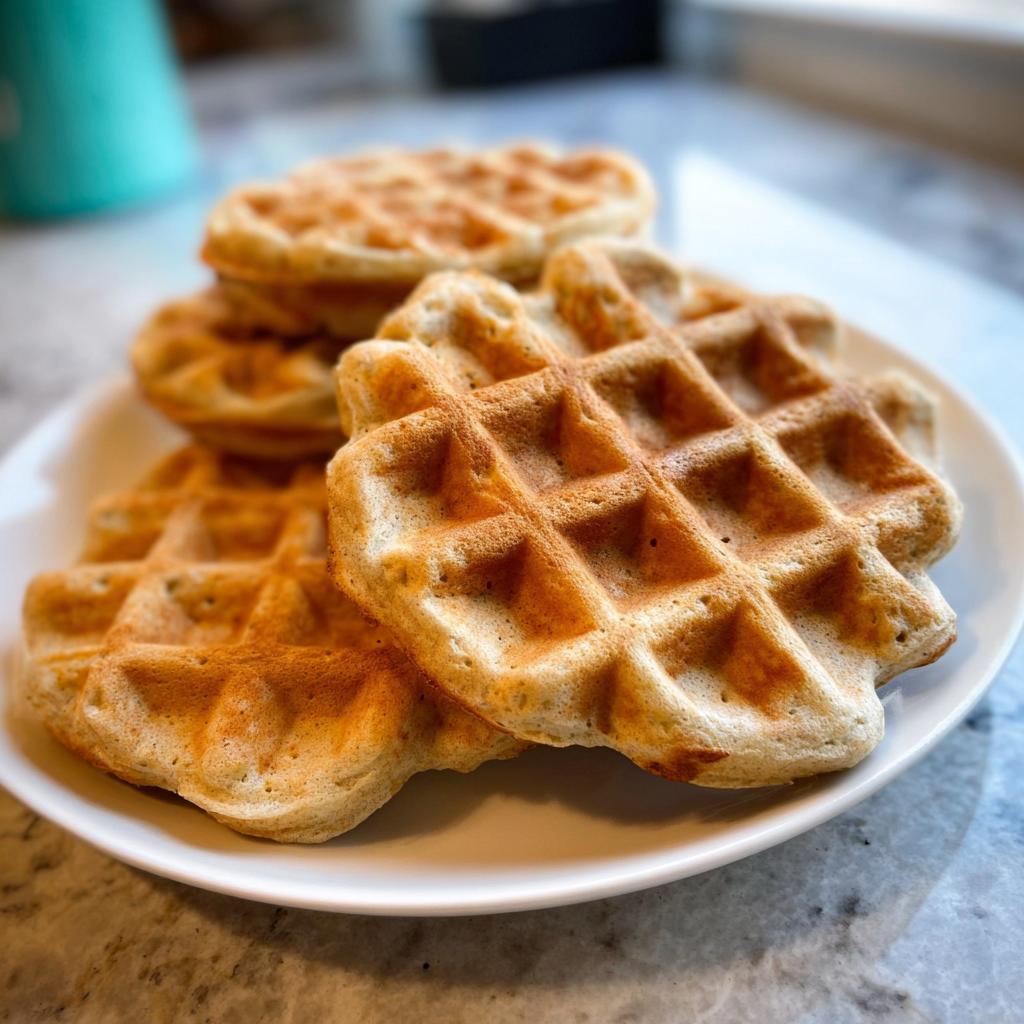
When my mini waffle maker arrived last summer, I had no idea it would turn into Daisy’s favorite kitchen gadget. That first batch of Delightful Homemade Dog Waffles had her doing circles around my feet before they even cooled! There’s something magical about watching your pup’s ears perk up when they catch the scent of warm oat flour and applesauce. Now, it’s our little weekend ritual—I sip coffee while she gets her own tail-wagging breakfast. These waffles blend simplicity with pure joy, turning ordinary ingredients into something extraordinary that makes your dog feel like part of the family table (minus the syrup, of course!).
Why You’ll Love These Delightful Homemade Dog Waffles
Trust me, once you see your pup’s reaction to these waffles, you’ll be hooked! Here’s why this recipe has become my go-to for happy tails and wagging approval:
- Super simple – Just 4 basic ingredients you probably already have in your pantry (no fancy shopping trips needed!)
- Healthy & safe – Made with dog-friendly ingredients like oat flour and unsweetened applesauce (check out more healthy homemade dog treats if you’re curious)
- Ready in 10 minutes – Faster than brewing your morning coffee!
- Pure joy – There’s nothing like watching your dog’s excitement when they realize those little waffles are just for them
The best part? You get to feel like a gourmet chef while actually keeping things ridiculously easy. Daisy gives them two paws up every time!
Ingredients for Delightful Homemade Dog Waffles
Gathering these simple ingredients is the first step to making your pup’s tail wag like crazy! I love that everything is pantry-friendly and safe for dogs (always double-check with this handy AKC guide if you’re unsure about any human foods). Here’s what you’ll need:
- 1 cup oat flour – You can make your own by blending rolled oats until powdery (my favorite budget trick!)
- 1 egg – Perfect for binding the batter and adding protein
1/4 cup unsweetened applesauce – No added sugars, just pure fruity moisture
1/4 cup unsalted chicken broth – Skip the onion/garlic varieties and go for low-sodium
See? Nothing complicated! The applesauce gives just enough natural sweetness that Daisy licks her bowl clean every time. Pro tip: If your broth is salted, just dilute it with equal parts water – we want happy pups, not thirsty ones!
Equipment Needed for Delightful Homemade Dog Waffles
You probably already have most of these in your kitchen! Here’s what you’ll need to whip up Daisy’s favorite breakfast treats:
- Waffle maker – Any size works, but I adore my mini one for perfectly pup-sized portions
- Mixing bowl – Just a basic medium-sized one does the trick
- Whisk or wooden spatula – For getting that batter nice and smooth
- Measuring cups – Because eyeballing it never works out quite right
That’s it! No fancy gadgets required – just simple tools that make waffle magic happen. Now let’s get cooking!
How to Make Delightful Homemade Dog Waffles
Ready to see your pup’s tail go bananas? Making these waffles is so easy, even if you’re half-asleep with your morning coffee! Here’s my foolproof method that’s never let Daisy down:
First, plug in your waffle iron to preheat while you mix. Trust me, this makes all the difference – a hot iron gives those perfect crispy edges pups go nuts for. Medium heat usually works best.
Now for the fun part – dump that cup of oat flour right into your mixing bowl. No sifting needed (hooray for shortcuts!). Crack in your egg, then pour in the applesauce and broth. Stir everything until it looks like thick pancake batter. Don’t worry about tiny lumps – they’ll disappear in the waffle iron.
Lightly brush your preheated iron with coconut oil if needed. Pour about ¼ cup batter (or less for mini irons) right in the center – it’ll spread as you close the lid. Now the hardest part: waiting those 3-5 minutes while the irresistible aroma drives your dog wild! Peek once to check for golden brown perfection.
Let the waffles cool completely before breaking them into pup-sized pieces. Watch for that adorable head tilt when they realize these are way better than plain kibble! Pro tip: For extra fun, use bone-shaped cookie cutters on cooled waffles – total tail-wagging magic.
Tips for Perfect Delightful Homemade Dog Waffles
After making dozens (okay, maybe hundreds) of these waffles for Daisy, I’ve learned a few tricks to get them just right every time. Here’s what makes all the difference:
- Let them cool completely – I know it’s tempting when those puppy eyes beg, but warm waffles can be too soft and messy
- Break into bite-sized pieces – Even if your dog could inhale a whole waffle, smaller bits are safer (and make treats last longer!)
- Store extras in the fridge – They’ll keep fresh for 3 days in an airtight container, or freeze for up to 2 weeks
- Double batch on weekends – Having pre-made waffle bits ready makes weekday mornings so much easier
My golden rule? Always do the “finger test” before serving – if it’s too hot for your finger, it’s too hot for your pup’s tongue. Daisy approves this message!
Storage and Serving Suggestions for Delightful Homemade Dog Waffles
You’ll probably want to make extras – Daisy always begs for “just one more”! Here’s how I keep these waffles fresh and fun:
- Fridge storage: Pop cooled waffles in an airtight container for 3-4 days of fresh, ready-to-go treats
- Freezer magic: Layer waffle pieces between parchment paper and freeze for up to 2 months (instant happy dances on busy mornings!)
- Serving tricks: Use small pieces as training rewards, crumble over kibble for “fancy dinners,” or serve whole for special occasions
No reheating needed – Daisy actually prefers them chilled straight from the fridge! Just break off what you need and watch that tail start wagging.
Frequently Asked Questions About Delightful Homemade Dog Waffles
I get asked these questions all the time by fellow dog parents whipping up their first batch – here are the answers that’ll have you and your pup cooking with confidence!
Can I use regular flour instead of oat flour?
While you can use whole wheat flour in a pinch, oat flour is my go-to because it’s gentler on doggy tummies. If you’re out, just blend rolled oats in your blender until powdery – Daisy never notices the difference! Just avoid white flour; it lacks nutrients and can cause blood sugar spikes.
How long do these waffles stay fresh?
They’ll keep for 3-4 days in the fridge (if your dog doesn’t eat them all first!). For longer storage, freeze them in single layers – they’ll stay perfect for up to 2 months. Pro tip: Write the date on freezer bags because trust me, you’ll make more breakfast-inspired treats than you expect!
My dog is allergic to eggs – what can I substitute?
No problem! Mix 1 tablespoon ground flaxseed with 3 tablespoons water, let it sit for 5 minutes to thicken, then use it just like an egg. Daisy’s friend Rocky gets this version and gobbles them up just as fast!
Can I add peanut butter or other flavors?
Absolutely! A tablespoon of unsweetened peanut butter (xylitol-free!) makes these extra special. You can also stir in puréed pumpkin or mashed banana – just keep additions to about 1-2 tablespoons so the batter doesn’t get too wet. Daisy’s current favorite is a sprinkle of blueberries in the batter – total tail wags!
Why let them cool completely before serving?
Besides avoiding burnt puppy tongues (ouch!), cooling helps the waffles firm up to that perfect chewy texture dogs love. Hot waffles can be gummy and stick to the roof of their mouths – we want happy crunches, not messy cleanups!
Nutritional Information for Delightful Homemade Dog Waffles
While I can’t give exact numbers (ingredients vary by brand!), know these waffles pack wholesome goodness from oat fiber, egg protein, and fruit-based moisture. Always adjust portions for your pup’s size and dietary needs – Daisy’s vet approved these as occasional treats in her balanced diet!
Share Your Experience with Delightful Homemade Dog Waffles
I’d love to hear about your pup’s reaction to these waffles! Did they do the happy dance like Daisy? Snap a photo of your canine chef-in-training and share your stories with me – nothing makes my day like seeing dogs enjoy these treats as much as mine does!
Delightful Homemade Dog Waffles: 4 Easy Treats
Ingredients
Equipment
Method
- Begin by preheating your waffle iron according to its manufacturer’s instructions. This ensures it’s ready to go once your waffle batter is mixed.
- In your large bowl, add 1 cup of oat flour.
- Crack 1 egg into the bowl with the dry ingredients. Then, add 1/4 cup of unsweetened applesauce and 1/4 cup of unsalted chicken broth to the mix.
- Using your whisk or wooden spatula, mix all the ingredients together until you achieve a smooth, uniform wet mixture. Be sure to mix well to ensure there are no dry pockets of flour remaining.
- If necessary, lightly coat the surface of your waffle iron with a little bit of coconut oil to prevent the waffles from sticking.
- Pour enough batter into the center of the preheated waffle iron to just cover the waffle grid. Close the lid and cook according to your waffle iron’s instructions, or until the waffle is a nice golden brown. This usually takes about 3-5 minutes, depending on your iron.
- Once cooked, carefully remove the waffle from the iron and allow it to cool completely. The homemade waffles will have more of a cake-like consistency than regular waffles.
- Break the cooled waffle into appropriately sized pieces for your dog.