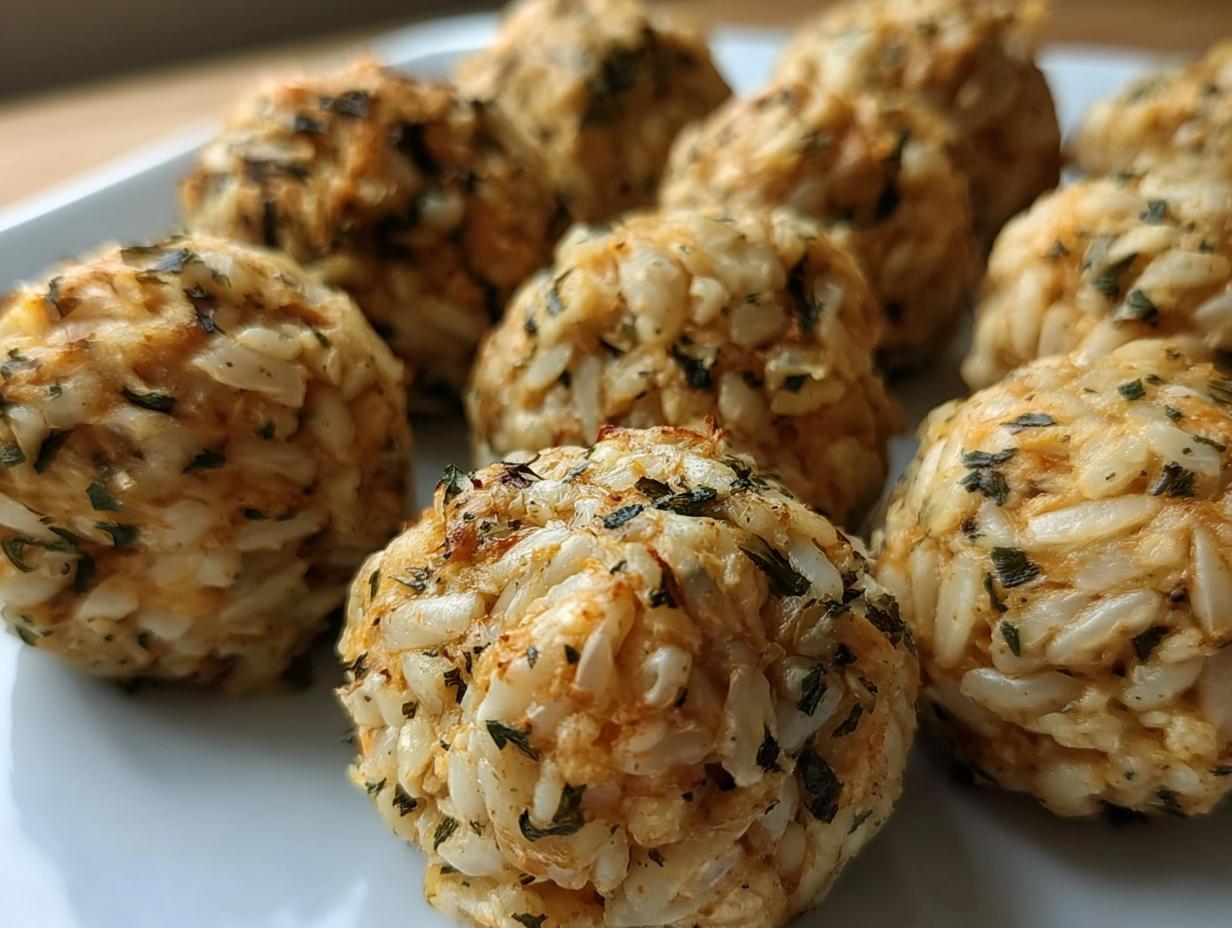
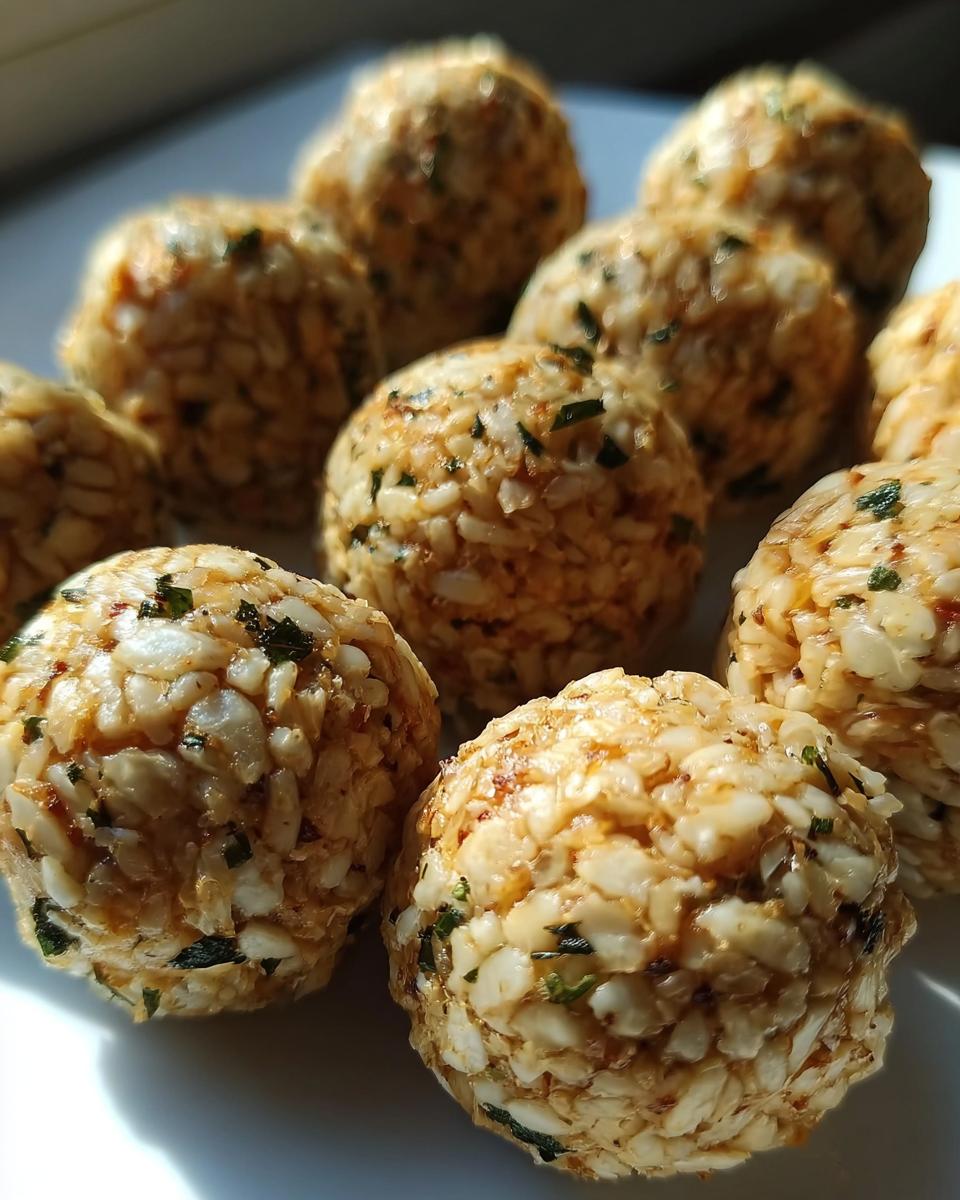
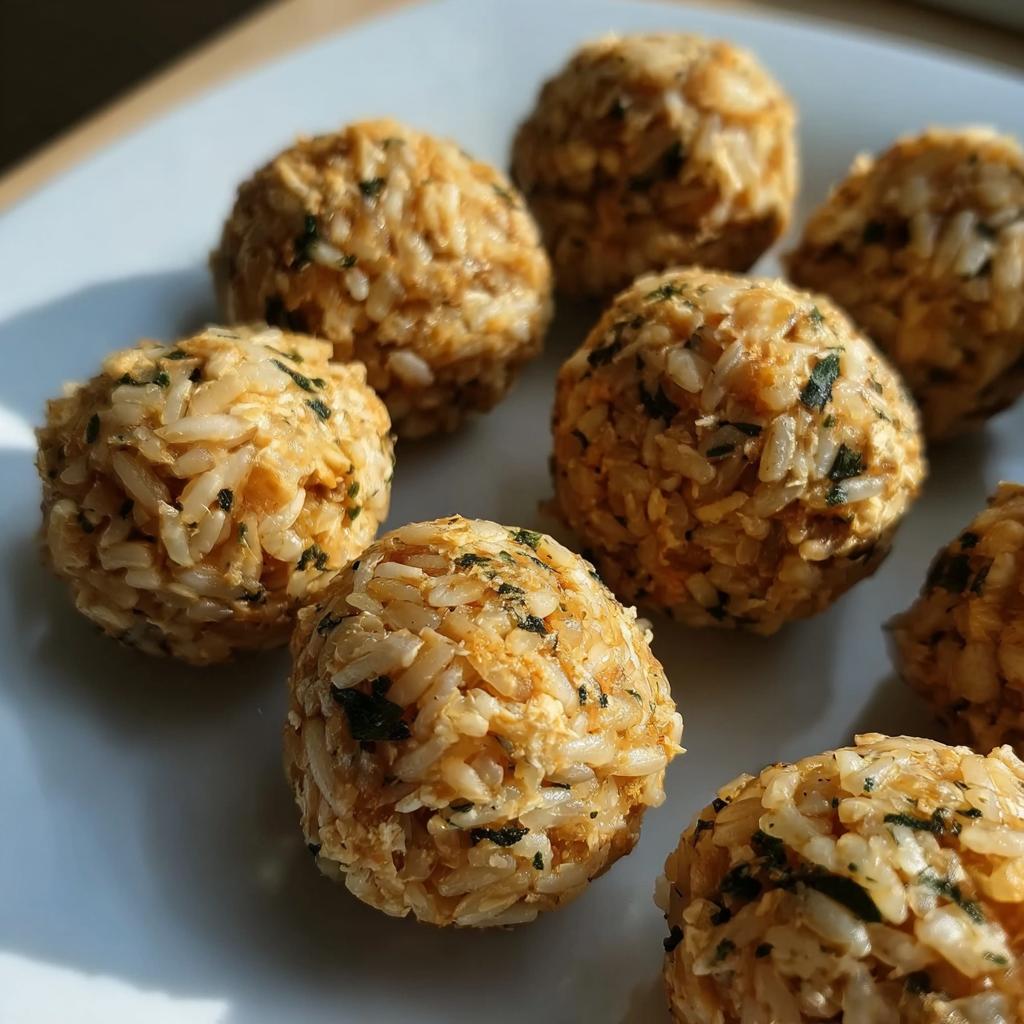
You should’ve seen Daisy after our morning at the dog park last summer – completely wiped out but still giving me those “I’m starving” puppy eyes. I rummaged through the fridge and spotted leftover chicken and rice from dinner. In about 10 minutes, I mixed them into little bite-sized balls, popped them in the fridge to firm up, and voilà! Her tail started wagging before she even took the first bite. That’s how our Amazing Chicken & Rice Energy Bites Recipe was born. Now they’re our go-to snack after every play session – packed with protein to recharge her fast, easy to make with pantry staples, and perfect for my energetic girl who burns calories like crazy. The best part? You probably have everything you need to make them right now!
Why You’ll Love This Amazing Chicken & Rice Energy Bites Recipe
Trust me, once you try these little protein-packed wonders, you’ll wonder how you ever lived without them! Here’s why they’re a total game-changer:
- Quick as a tail wag: From fridge to bowl in under 30 minutes – perfect for when your pup’s giving you those “I’m starving NOW” eyes after playtime.
- Protein powerhouse: Packed with chicken and egg to help rebuild those tired muscles after a long walk or intense fetch session.
- Meal prep magic: Whip up a batch on Sunday and you’ve got ready-to-go snacks all week (though in my house, they never last that long!).
- Pup-approved delicious: Daisy does her happy dance every time she smells these coming out of the oven – and she’s got the pickiest palate of any golden retriever I know!
Ingredients for Amazing Chicken & Rice Energy Bites Recipe
Here’s everything you’ll need to whip up these protein-packed bites – I bet most are already in your kitchen! The beauty of this recipe is how simple the ingredients are, but I’ll share my little tricks for making each one shine.
- 2 cups cooked chicken, finely shredded – I use leftover rotisserie chicken (skin removed) or bake a couple breasts. The finer you shred it, the better the bites hold together!
- 1 cup cooked brown rice – Or white rice if your pup has a sensitive tummy. Pro tip: slightly undercook it so the bites stay firm.
- 1 egg, lightly beaten – Our magic binder! Room temp works best for even mixing.
- 2 tablespoons chopped parsley (optional) – Daisy loves the fresh flavor, and it makes their breath nicer too!
- 1/3 cup oat flour – You can make your own by pulsing oats in a blender. Whole wheat flour works in a pinch.
- 1 tablespoon coconut oil (optional) – Gives the bites a nice shine and adds healthy fats. Melt it slightly before mixing in.
See? Nothing fancy – just wholesome ingredients that come together into something truly special for your pup. Now let’s get mixing!
How to Make Amazing Chicken & Rice Energy Bites Recipe
Okay, let’s get rolling – literally! These bites come together so easily, but I’ve learned a few tricks over dozens of batches that make them perfect every time. Follow these steps and you’ll have your pup’s new favorite snack ready in no time.
- Prep your ingredients: Make sure your chicken is finely shredded (I use two forks to really get it stringy) and your rice is cooled. Warm rice makes the mixture too sticky to handle. If you’re using parsley, give it a fine chop – big pieces can make rolling tricky.
- Mix it up: In your biggest bowl, combine the chicken, rice, parsley (if using), and oat flour. Make a well in the center and pour in the beaten egg. Here’s my secret – mix with your hands! You’ll get better distribution than with a spoon, and you can feel when the texture is just right. If it seems dry, add that coconut oil or a teaspoon of water.
- Roll with it: Scoop about a tablespoon of mixture and roll between your palms into 1-2 inch balls. Pro tip: slightly damp hands prevent sticking! Place them on a parchment-lined baking sheet about an inch apart. If the mixture won’t hold shape, add a bit more oat flour or chill for 10 minutes.
- Bake or no-bake: For crispy bites, preheat oven to 350°F (175°C) and bake 12-15 minutes, flipping halfway. For softer treats, skip baking and refrigerate 30 minutes to firm up. Either way, let them cool completely before serving – trust me, Daisy learned this the hard way with an impatient nibble!
See? Easier than teaching a puppy to sit! For more homemade treat inspiration, check out our guide to homemade dog treats with all our favorite recipes. Now go make your pup’s day – I can already hear the happy crunching!
Tips for Perfect Amazing Chicken & Rice Energy Bites
After making these bites more times than I can count (Daisy’s obsession is real!), I’ve picked up some foolproof tricks to get them just right every time. Here are my can’t-live-without tips:
- Texture troubleshooter: If your mixture feels too wet, add oat flour a tablespoon at a time. Too dry? A teaspoon of water or melted coconut oil works wonders. You want it to hold together when squeezed but not stick to your hands.
- Flip for even baking: Don’t skip the halfway flip! I set a timer for 7 minutes to rotate each bite – it gives them that perfect golden crust all over without drying out.
- Chill for easy rolling: Sticky fingers? Pop the mixture in the fridge for 10 minutes before shaping. Or better yet – keep a bowl of cool water nearby to dip your hands in between rolling.
- Size matters: For small dogs, go for 1-inch bites; larger pups can handle 2-inch balls. Consistency is key so they bake evenly – I use a cookie scoop to keep them uniform.
- Taste test safely: Always try a bite yourself before serving (yes, really!). It should be bland to our taste but smell irresistible to pups. If it’s salty or seasoned, skip it for your dog.
Remember, practice makes perfect! Even if your first batch isn’t picture-perfect, your pup will still go crazy for them. Happy baking!
Storage and Serving Suggestions for Amazing Chicken & Rice Energy Bites
Okay, let’s talk about keeping these bites fresh and serving them up like a pro! Here’s what I’ve learned from Daisy’s endless snack demands:
Storage secrets: These bites stay perfect in an airtight container in the fridge for up to 3 days (if they last that long!). For longer storage, freeze them on a baking sheet first, then transfer to a freezer bag – they’ll keep for 2 months. Thaw overnight in the fridge or give them a quick 10-second microwave zap (test the temp first!).
Perfect timing: I always serve these after playtime when Daisy’s panting but still eyeing the treat jar. They’re also great for:
- Training rewards (break them into smaller pieces)
- Pre-walk energy boost on big adventure days
- Stuffed in a slow feeder toy to keep her busy while I work
Fun serving ideas: Sometimes I crumble a bite over her kibble for “fancy dinner night,” or mix with a spoonful of plain yogurt for a protein-packed pup parfait. Get creative – your dog will love you even more (if that’s possible)!
Nutritional Benefits of Amazing Chicken & Rice Energy Bites
Let me tell you why these little bites are basically puppy superfood! The chicken packs a serious protein punch to help rebuild those tired muscles after zoomies at the park. And the rice? Perfect for quick energy – Daisy’s tail starts wagging again before she’s even finished chewing! What I love most is how gentle this combo is on sensitive tummies. No weird ingredients, just wholesome fuel that keeps her going. That optional coconut oil I mentioned? It’s not just for shine – it adds healthy fats that make her coat extra glossy. Every ingredient works together to give your pup exactly what they need after burning all that energy being their adorable, active self!
Frequently Asked Questions About Amazing Chicken & Rice Energy Bites
Can I use white rice instead of brown rice?
Absolutely! White rice works perfectly if your pup has a sensitive stomach or you’re out of brown rice. I actually use white rice for Daisy sometimes when her tummy seems off – it’s just as tasty and even easier to digest. The texture might be slightly softer, so you might need an extra sprinkle of oat flour to help the bites hold their shape.
Do I have to bake these, or can I serve them no-bake?
Totally your call! The no-bake version is Daisy’s favorite – just mix, roll, and chill. They’re softer but still hold together well. Baking gives them a nice crispy exterior that some dogs go crazy for (and helps them last a tiny bit longer). Try both ways and see what your pup prefers – it’s all good!
My dog has allergies – can I substitute the chicken?
For sure! Cooked ground turkey works great as a chicken substitute. If you’re avoiding poultry altogether, you could even try lean beef or salmon. Just make sure whatever protein you use is plain (no seasonings!) and thoroughly cooked. For more allergy-friendly ideas, check out our blueberry oat energy balls recipe that’s naturally poultry-free.
How many of these can I give my dog per day?
As a general rule, treats shouldn’t make up more than 10% of your dog’s daily calories. For Daisy (a 60lb golden), that’s about 3-4 bites per day. Smaller dogs should get fewer – maybe 1-2. I break them in half for training rewards too! Remember, these are energy-packed, so adjust based on your pup’s activity level.
Can I freeze these chicken and rice bites?
You bet! Freezing is my secret for always having healthy treats on hand. Just lay them out on a baking sheet to freeze solid first (about 2 hours), then toss them in a freezer bag. They’ll keep for 2 months! Thaw overnight in the fridge or give them a quick 10-second microwave zap (test the temp first – nobody likes a burnt tongue!). Daisy actually likes them slightly frozen on hot summer days.
More Dog Treat Recipes to Try
If your pup goes nuts for these chicken bites (like Daisy does!), wait till you try these other homemade favorites! Our Peanut Butter & Pumpkin Dog Treats are like little bites of fall magic – perfect for pups who love that classic PB flavor. And for banana lovers, our Peanut Butter Banana Twist recipe gets tails wagging with its chewy texture and natural sweetness. Trust me, once you start making homemade treats, there’s no going back to store-bought!
Amazing Chicken & Rice Energy Bites Recipe
Ingredients
Method
- Start by cooking the chicken and rice. Shred the cooked chicken into fine pieces and let the rice cool after cooking.
- In a large bowl, combine the shredded chicken, cooked rice, parsley (if using), and oat flour. Stir in the beaten egg to bind the mixture. Add a teaspoon of coconut oil or water if needed for better consistency.
- Roll small portions of the mixture into bite-sized balls, about 1-2 inches in diameter, depending on your dog’s size.
- To bake, preheat your oven to 350°F (175°C). Place the balls on a parchment-lined baking sheet and bake for 12-15 minutes, flipping halfway through. Alternatively, serve as no-bake treats.
- Allow the balls to cool completely before serving.