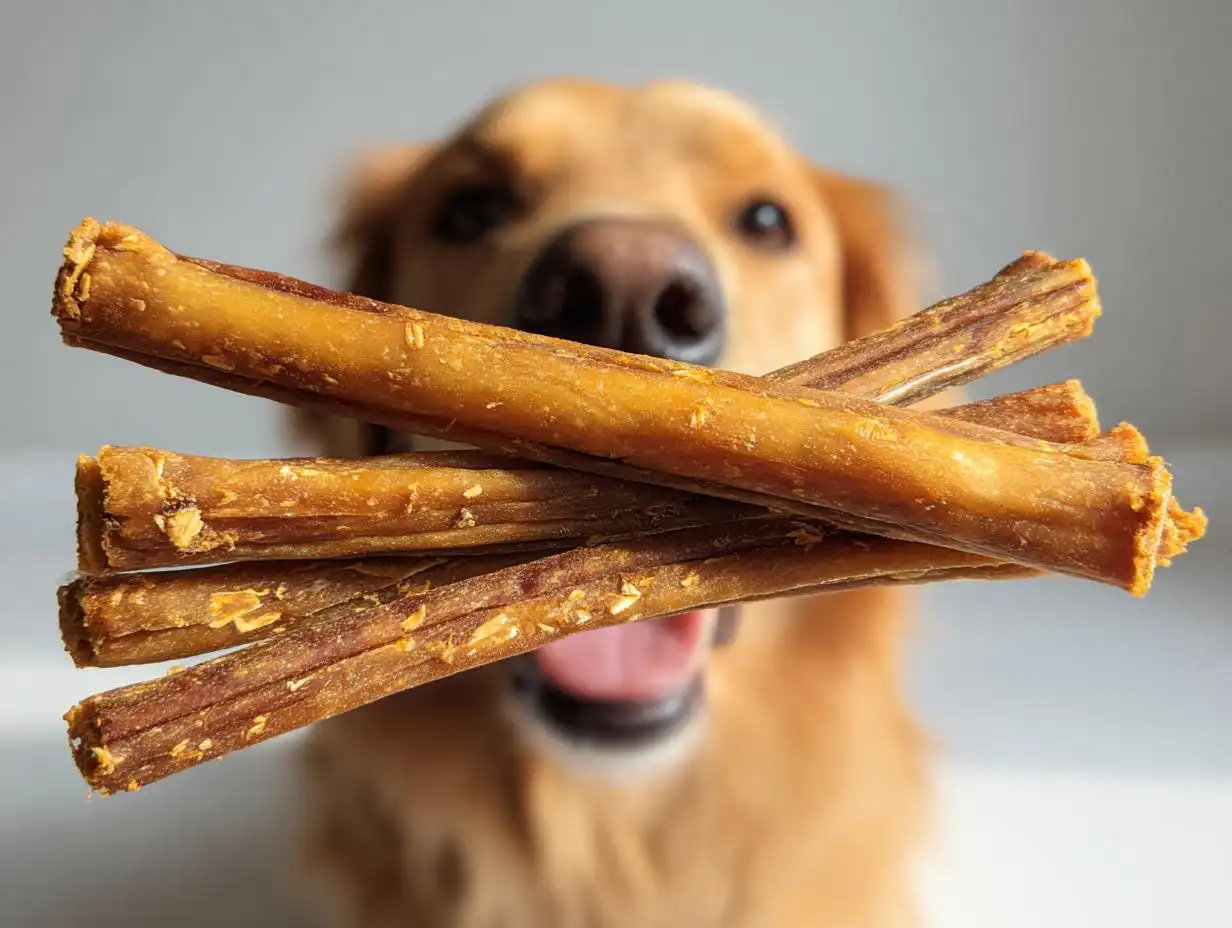
If you peek inside your dog’s mouth and see a little something fuzzy going on, you know that dental care is a huge deal! Honestly, keeping up with vet cleanings can get expensive, and finding effective, all-natural chews is a game-changer. That’s why I’m so excited to share this recipe for Healthy Dehydrated Dental Sticks for Dogs. They are super simple—just four ingredients—and they offer that perfect chewable texture we want for supporting oral health. For more on why dental care is so important, you can check out this great resource on Canine Dental Disease.
When I was developing these, I actually spent almost a whole afternoon just testing stick shapes! Seriously! Small, brittle shapes disappeared too fast, but these longer, thin strips tend to keep my dogs gnawing for a good while longer, which is what we need for that gentle scraping action. It’s all about making the simplest homemade dog chews work overtime for your pup. If you like flavors that pair well with parsley, you should definitely check out my Carrot Parsley Chew Sticks recipe too!
As a canine nutrition writer, I stick to whole foods only, and these dehydrated dog treats prove you don’t need fancy additives to make something your dog loves. Trust me, these little power sticks are going to make your dog’s tail wag while giving you peace of mind about their smile.
Why You Need These Healthy Dehydrated Dental Sticks for Dogs
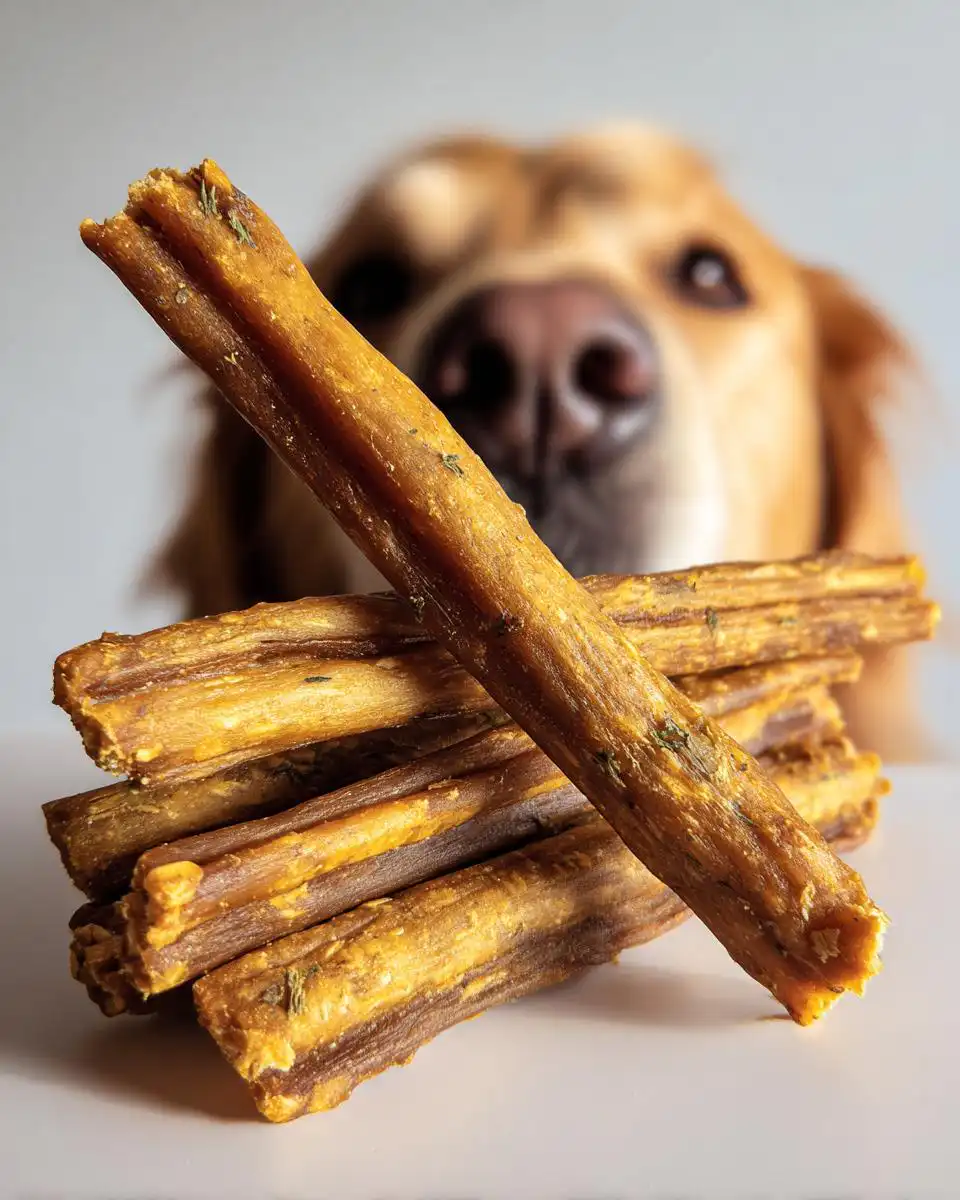
Look, we all want our furry family members to have bright, healthy smiles, right? That’s the main point behind these sticks! They use tough dehydration to create the exact texture needed to help sweep away plaque as your dog enjoys their snack. It’s functional snacking!
- They offer extended chewing time, much better than those crumbly biscuits that disappear in two seconds.
- Because they are dehydrated dog treats, they store forever without needing weird preservatives.
- You know exactly what’s going into them—no mystery fillers, ever!
If you are looking for more awesome homemade dog treats that make your life easier, you absolutely have to check out my full guide to Homemade Dog Treats.
Supporting Canine Oral Health Naturally
The secret here isn’t just the crunch; it’s the way we prepare them. The firm texture scraped against their teeth, kind of like a natural toothbrush, helps loosen up some gunk. Plus, we toss in fresh parsley because it’s fantastic for freshening breath. I mean, who doesn’t love a dog whose kisses don’t clear the room?
Simple Ingredients for Healthy Dog Treats Homemade
Forget the long ingredient lists you see on store-bought bags. These DIY dog treats rely on oat flour and pumpkin—things you probably already have! It’s so satisfying mixing up a batch of these natural dog treat recipes knowing you’re providing quality fuel, not just filler. You get all the goodness with none of the scary chemical stuff.
Gathering Ingredients for Healthy Dehydrated Dental Sticks for Dogs
Okay, getting ready to mix up these dog dehydrator recipes is genuinely exciting because we only need four things! Seriously, four items stands between you and a big batch of dental sticks. I’ve found that prepping everything first keeps the process smooth. You’ll need that oat flour, the pumpkin, water, and the parsley. Don’t leave the parsley out; it’s key for that breath-freshening magic!
If you want to tackle other breath-boosting recipes, my Parsley and Mint Dog Breath Fresheners are another winner around here.
Ingredient Notes and Substitutions for Dog Dehydrator Recipes
Listen closely on the pumpkin, because this is super important! You absolutely must use 100% unsweetened pumpkin puree. Do *not* grab the can of pumpkin pie filling by accident; that stuff has spices and sugar that are a no-go for our pups. Also, oat flour is my go-to because it binds everything nicely, but if you don’t have it on hand, just take plain rolled oats and pulse them in your blender until they look like flour. It works just as well for these homemade dog chews!
Essential Equipment for Making Dog Treats for Chewing
The great thing about these natural dog treat recipes is that you probably already own most of what you need! We aren’t relying on any wild, single-use gadgets here. Since these are dehydrated dog treats, the star of the show is obviously the dehydrator, but you need a few other workhorse items to get the dough ready.
You’ll need a sturdy mixing bowl, of course, because we are mixing a dense dough. Make sure your bowl is big enough to handle the mixing without everything trying to climb out—oat flour can get dusty!
For shaping, grab your trusty rolling pin. You need to get that dough flat and even. Then, for cutting precise little strips for chewing, a sharp knife or even a pizza cutter works wonders. You want those strips uniform so they dry evenly. If you’re looking for another great recipe involving the dehydrator, check out my Dehydrated Chicken Breast Strips!
- A reliable Dehydrator (this is non-negotiable for these sticks!)
- A good-sized Mixing bowl
- A Rolling pin for pavement duty
- A Knife or pizza cutter for perfect strips
Step-by-Step Guide to Making Healthy Dehydrated Dental Sticks for Dogs
Now for the fun part—turning that gorgeous, earthy mixture into something your dog can seriously sink their teeth into! Don’t stress about perfection here; these are homemade dog chews, designed to be rustic and effective. We are aiming for a dough that handles well, which is what makes these healthy dog treats homemade so reliable.
If you love working with pumpkin and oats, you absolutely have to try my Pumpkin Oatmeal Dog Snack Sticks next week. They are slightly softer but just as rewarding!
Mixing the Dough for Homemade Dog Chews
Grab your mixing bowl and toss in the oat flour, the pumpkin puree, your parsley bits, and the water. Now, get in there and mix! You need to combine everything until you have a stiff dough. It shouldn’t be sticky or runny; it needs to hold its shape when you press it. This is different from bread dough—we want density here.
Seriously, remember how I mentioned testing shapes? I learned quickly that if the sticks are too short, my husky just gulps them down like a pill. We need chewing action! So, make sure whatever you cut is long enough—at least four inches—so they have to actively work on that dental cleaning action. Don’t be shy about kneading it just a little bit with your hands until it feels uniform.
Cutting and Preparing for Dehydration
Once that dough is mixed, we roll it out! Lay down two sheets of parchment paper—this is your best friend for easy cleanup—and flatten that dough between them. You’re aiming for about 1/4 inch thick. Not too flimsy, not too thick, because we need that even dry-out for the best natural dog treat recipes.
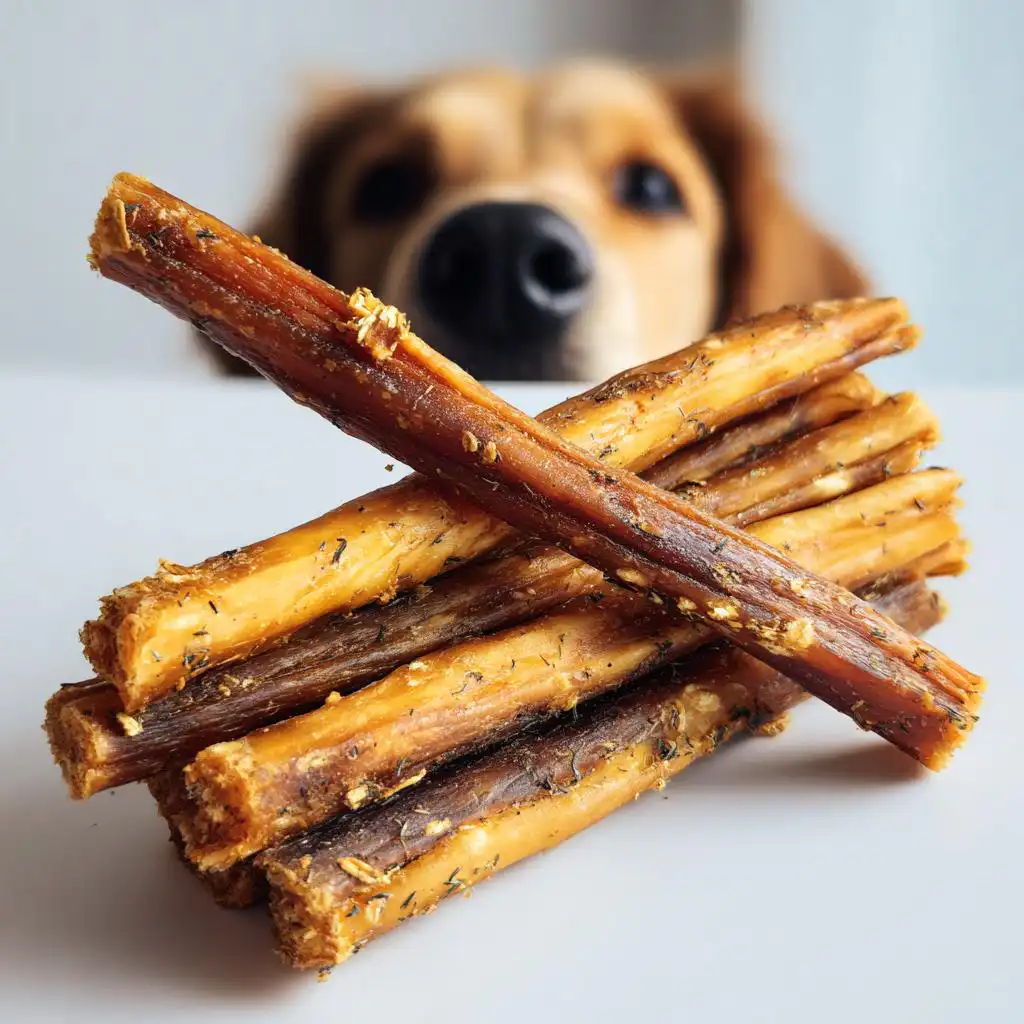
Once it’s rolled out, peel off the top layer of parchment. Time to cut! Use a knife or a pizza cutter to slice long strips, about half an inch wide. Then, carefully peel these strips off the bottom parchment and lay them onto your dehydrator trays. The most important rule here is: do not let them touch or overlap! They need space around them so the air can circulate properly to create crispy dog treats.
The Dehydration Process for Natural Dog Treat Recipes
Now we send them on vacation to the dehydrator! Set your temperature precisely to 165 degrees Fahrenheit, or 74 degrees Celsius. This heat level is high enough to dry them out safely but low enough that we aren’t technically “baking” them. We want them dried, not cooked.
They need a long nap—plan for 6 to 8 hours total. But here’s the trick: halfway through the time (say, around the 4-hour mark), you need to carefully take the trays out and flip every single stick over. This ensures both sides get equally sun-kissed, so to speak. This flipping step is crucial for getting the perfect, dry snap on all our Healthy Dehydrated Dental Sticks for Dogs.
Tips for Success with Your Healthy Dehydrated Dental Sticks for Dogs
You’ve done the hard work mixing and cutting, but the final texture is what separates a good treat from a *great* one! When you’re dealing with these homemade dog chews, keeping moisture locked out is your only job now. If the sticks feel slightly soft when you think they are done, just give them another hour. Always err on the side of slightly too dry over slightly too chewy when making dehydrated dog treats!
Don’t stack the trays tightly when you return them to the dehydrator after flipping; air circulation is your best friend for even drying. If you find your strips are cracking oddly, it usually means they were rolled too thin. I always suggest checking the manufacturer’s guide for your specific dehydrator too. If you love these dehydrated dog treats, you absolutely have to try my Dog Jerky Recipes next; they follow similar successful dehydration rules!
Storing and Serving Your Dehydrated Dog Treats
We’ve done the long wait, the dehydrating is finished, and your kitchen probably smells vaguely of sweet pumpkin and parsley—success! But hold your horses before you hand one over. The very last step is almost as important as the mixing, and that’s making sure you cool these treats completely. Seriously, don’t skip this part!
You have to let the strips cool down on a wire rack for at least 60 minutes after they come out of the machine. If you try to put warm treats into storage, they might sweat, and that condensation is exactly what causes mold or spoilage in dehydrated dog treats. Patience here pays off!
Once they are stone-cold, these homemade dog chews are ready for their airtight home. They keep really well at room temperature, which is a huge boon for natural dog treat recipes, since we aren’t using preservatives. You can safely store them in a sealed container for up to two weeks. That’s plenty of time for your dog to enjoy their chewable snacks!
If you make a huge batch—and trust me, you probably will, because they disappear fast—you can absolutely freeze them. Just pop them in a freezer-safe bag or container. They hold up beautifully in the freezer, so you always have some healthy dehydrated dental sticks for dogs ready to go when you need them. For other great ways to keep snacks fresh longer, check out my recipe for Easy Frozen Dog Snacks!
Frequently Asked Questions About DIY Dog Treats
I always get questions when people first start making their own dehydrated dog treats, and that’s great! Transparency is what building trust is all about, especially when whipping up natural dog treat recipes for your best friend. Ask away, I’m here to help you nail these healthy dog treats homemade! If you’re looking for other fresh-tasting chews, my Apple Cranberry Dog Chews for Fresh Breath are super popular too.
Can I bake these instead of using a dehydrator?
Yes, you totally can, but it takes a little fussing! If you need to use the oven for these Healthy Dehydrated Dental Sticks for Dogs, set your oven to its absolute lowest temperature—we want to dry, not bake. Keep the door cracked open a tiny bit to let the moisture escape, and plan on about 3 hours instead of 6 to 8 in the dehydrator. It won’t give you that perfect dense chewiness like the dehydrator does, but they will still be solid dog treats for chewing!
How long should the sticks be for effective chewing?
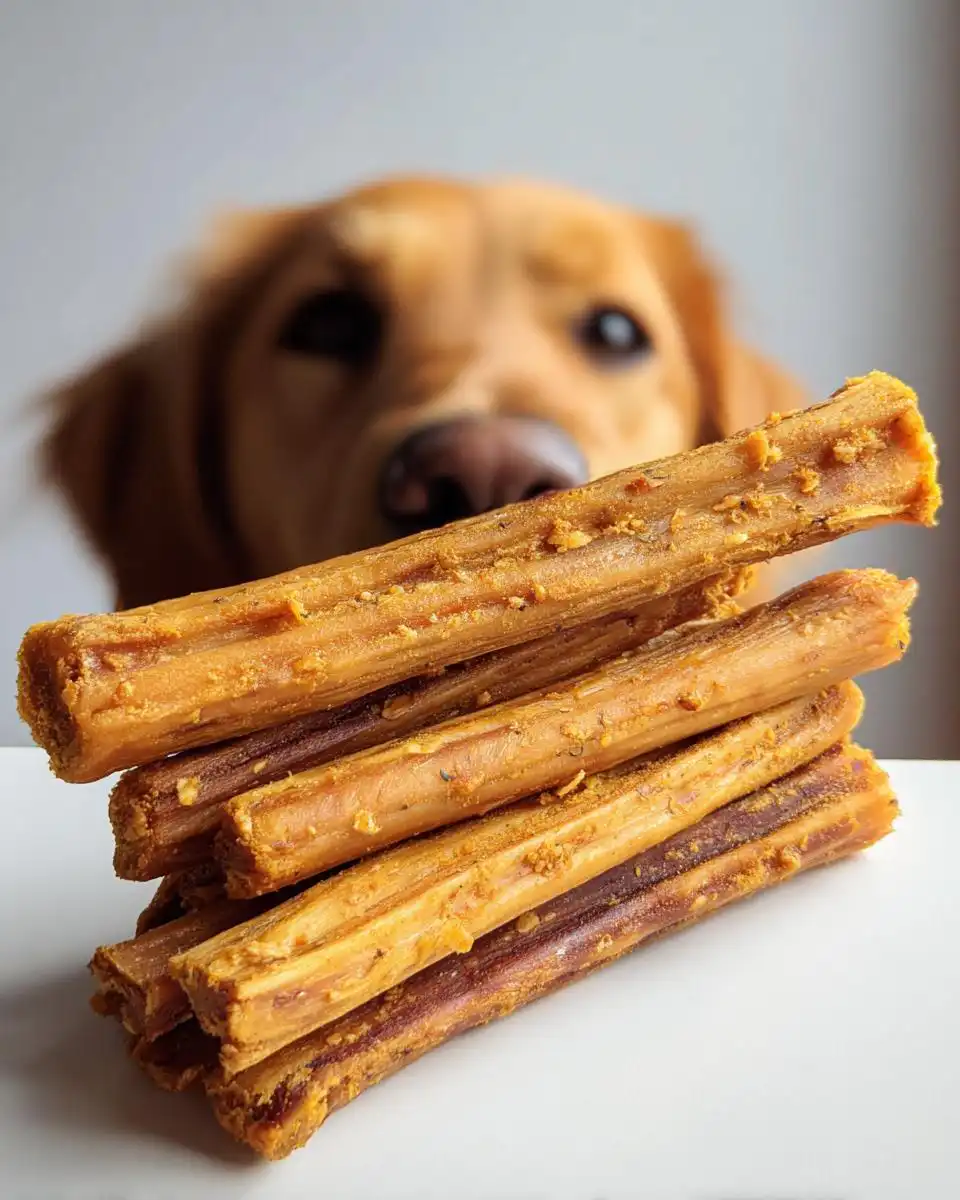
This is one of my favorite little secrets! I tested a bunch of lengths when making these homemade dog chews, and the sweet spot is definitely 4 to 6 inches long and about 1/2 inch wide. Why? Because if they are too short, your dog just swallows them whole. We need that length to encourage real, purposeful gnawing, which is what actually helps scrape off the plaque. Those dimensions are perfect for getting them to work their snack!
Estimated Nutritional Breakdown for Healthy Dehydrated Dental Sticks for Dogs
I think it’s really important to know what we are feeding our pups, even with simple snacks like these! Since these Healthy Dehydrated Dental Sticks for Dogs are made from whole foods, the nutrition is excellent—lots of fiber and natural vitamins from the pumpkin and parsley. But remember, since we are making about 20 sticks, these numbers are calculated averages based on the recipe yield, so they are close, but not exact, you know?
I always feel better when I see that almost everything is naturally occurring, totally free from the additives you find in store-bought snacks. If you’ve loved working with pumpkin and oat combinations, you should absolutely try my Pumpkin Carrot Soft Bars Recipe sometime soon!
For general healthy eating guidelines for humans, the World Health Organization has some great standard recommendations to keep in mind for yourself!
Here is the approximate breakdown for just ONE of these Dental Sticks:
- Calories: 80 kcal
- Fat: 2g (and zero cholesterol!)
- Protein: 3g
- Carbohydrates: 12g
- Fiber: 2g
- Sugar: 1g (all naturally occurring)
- Vitamin A: A fantastic boost at 4000 IU!
See? Low sugar, decent protein, and good fiber—perfect for a chewing session!
Share Your Experience Making These Dog Jerky Recipes
Whew! We did it! You’ve successfully crafted a big batch of homemade dog chews that taste fantastic and actually help your pup’s teeth. I really, truly hope you and your dog love these Healthy Dehydrated Dental Sticks for Dogs. They are such a staple in my kitchen now, and I hope they become one for you too!
I get such a kick out of seeing your pups enjoying these creations. Did your dog give you the side-eye when you first introduced the parsley flavor? Or did they just inhale the whole batch? I want to hear all about it! Please, drop a comment below and let me know how they turned out. Did you stick to the 1/4 inch thickness, or did you go slightly thicker?
If you’re feeling bold and want to try another flavor profile that uses the dehydrator, you might fall in love with my Beef Jerky Treats for Dogs. They are another excellent example of how simple dehydrated dog treats can be.
Don’t forget to snap a picture of your dog trying to balance one of these sticks on their nose and share it with the community! Seeing your success is what makes spending hours testing perfect chew lengths totally worth it.
About the Author: Clara Reynolds
By Clara Reynolds – Canine Nutrition Writer
Clara Reynolds contributes to Happy Pup Kitchen with a focus on safe, wholesome ingredients for dogs. With her background in pet care and food writing, she ensures each recipe is practical, balanced, and easy for owners to recreate at home. Clara is passionate about helping dog lovers prepare treats that are both healthy and tail-waggingly delicious.
Healthy Dehydrated Dental Sticks for Dogs
Ingredients
Equipment
Method
- Combine the oat flour, pumpkin puree, water, and parsley in a mixing bowl. Mix until a stiff dough forms.
- Place the dough between two sheets of parchment paper. Use a rolling pin to flatten the dough to about 1/4 inch thickness.
- Remove the top sheet of parchment paper. Cut the dough into long, thin strips, approximately 1/2 inch wide and 4 to 6 inches long. These shapes were tested to encourage longer chewing.
- Carefully transfer the strips to your dehydrator trays, ensuring they do not overlap.
- Dehydrate the sticks at 165 degrees Fahrenheit (74 degrees Celsius) for 6 to 8 hours, flipping them halfway through the process.
- The sticks are done when they are firm and dry throughout. Allow them to cool completely on a wire rack for about 60 minutes before serving or storing.