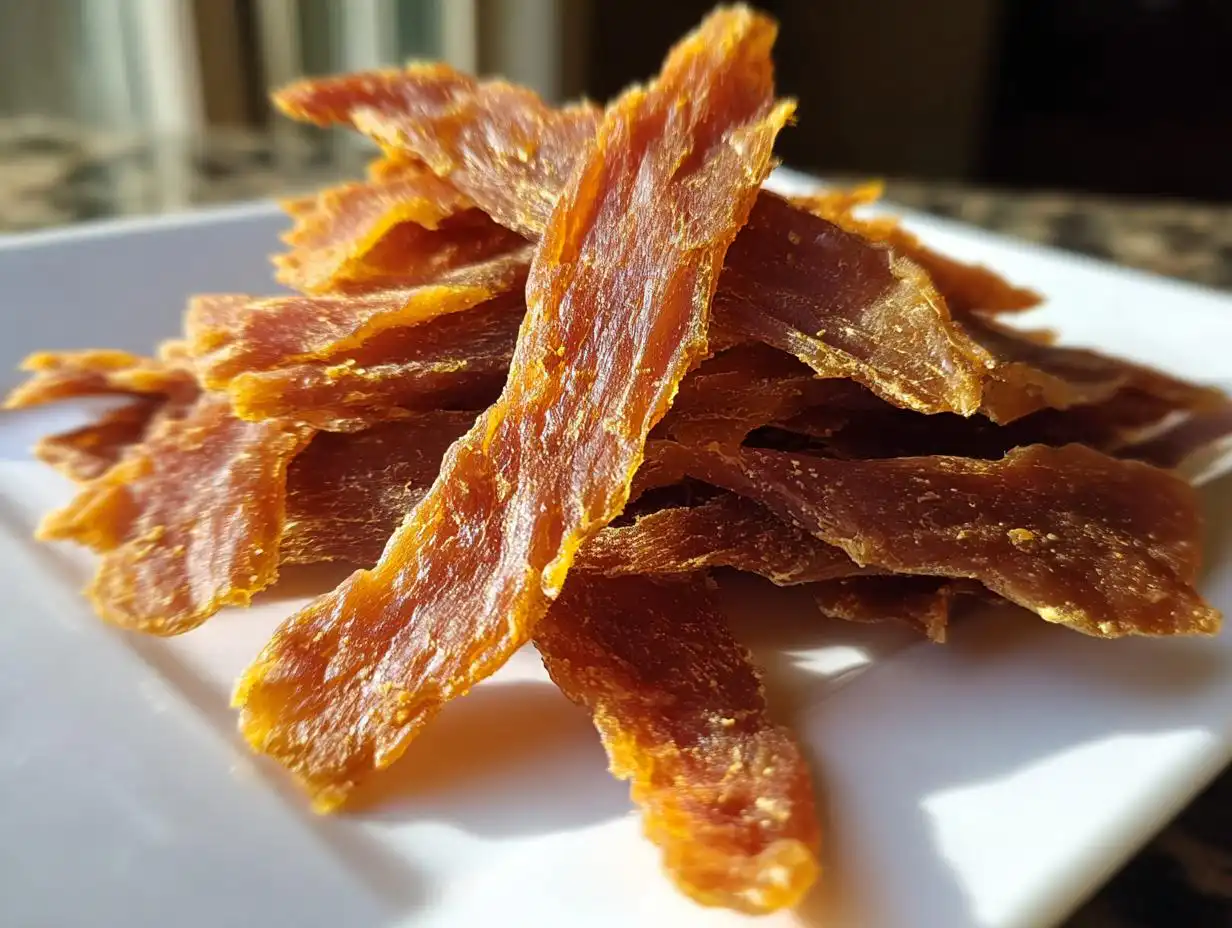
You know that constant little worry lurking in the back of your mind about what exactly your best buddy is snacking on? I totally get it! That’s why I’m so thrilled to share my favorite recipe for **Healthy Chicken Jerky for Dogs (No Additives)**. When you make jerky yourself, you get total, one hundred percent control over the ingredients, which just gives me peace of mind.
Forget those mystery packets full of salt and preservatives you see on the shelves. Removing additives made these jerky treats a staple in testing in my own kitchen because they passed the sniff test and the health test with flying colors!
It’s so simple, and honestly, watching your dog happily munch on something you made with just pure meat? That’s the best feeling. I’ve linked to some other great dehydrated treat options if you want even more ideas later on!
Why This Healthy Chicken Jerky for Dogs (No Additives) Recipe Works
When it comes to my pups, I want transparency! That’s why skipping the store-bought stuff and using this recipe is such a game-changer. You get amazing, high-protein snacks without any of the questionable stuff. It really builds confidence knowing exactly what you’re serving them.
-
Full Ingredient Control for Your Pet
Seriously, this is the best part! You are guaranteeing zero preservatives, no weird fillers, and absolutely no artificial colors or flavors sneaking into your dog’s diet. It’s just pure, simple chicken.
-
Perfect for High-Protein Snacking
Lean chicken breast is rocket fuel for active dogs! This jerky is an incredible source of high protein to keep them energized and strong. If you need quick rewards for training sessions, check out my training cube recipe too!
Essential Equipment for Healthy Chicken Jerky for Dogs (No Additives)
Okay, keeping this recipe easy is crucial for me, and thankfully, we don’t need a giant pile of fancy gadgets for this one! You really just need two main things to successfully make this **Healthy Chicken Jerky for Dogs (No Additives)** at home.
-
The Importance of the Dehydrator
Look, you *could* try baking this in the oven, but honestly? For excellent, safe jerky that gets that perfect bendable-yet-dry texture, a dehydrator is your best friend. It keeps the temperature low and consistent for hours, which is way better for preventing bacteria growth than trying to keep an oven steady at a low setting.
Besides that, you just need a really sharp knife. You want clean cuts for even drying, so make sure your slicer is up for the job!
Ingredients for Homemade Dog Chews: Healthy Chicken Jerky for Dogs (No Additives)
Listen, the ingredient list for these **Homemade Dog Chews** is beautifully short. And that’s exactly what we want when we’re aiming for additive-free snacking! Seriously, you can’t get much cleaner than this, and it makes prep time a breeze. If you love single-protein options, you absolutely must check out these other jerky recipes I’ve put together!
-
Ingredient Clarity: Chicken Selection
You are going to need exactly two pounds of boneless, skinless chicken breasts. And this is important: take the time to really trim off every single speck of visible fat you can see. Fat doesn’t dry well and can go rancid quicker, so let’s stick to that lean meat!
Step-by-Step Instructions for Dog Dehydrator Recipes
Alright, let’s get down to the fun part—turning that raw chicken into amazing **Dog Treats for Chewing**! The secret here is precision, which sounds fancy but is actually super easy if you follow my lead. If you need other recipe ideas using your dehydrator, definitely check out my potato chicken jerky strips!
-
Preparing the Chicken for Healthy Chicken Jerky for Dogs (No Additives)
First things first, you definitely want to make sure you’ve trimmed every bit of visible fat off your chicken breasts earlier. Now, here’s a pro tip for perfect slices: pop those clean breasts into the freezer for about 30 to 60 minutes. Trust me, you don’t want them rock solid, but just partially frozen. This firms the meat up just enough that you can slice it super thinly and uniformly without tearing it apart.
-
Slicing and Loading the Dehydrator Trays
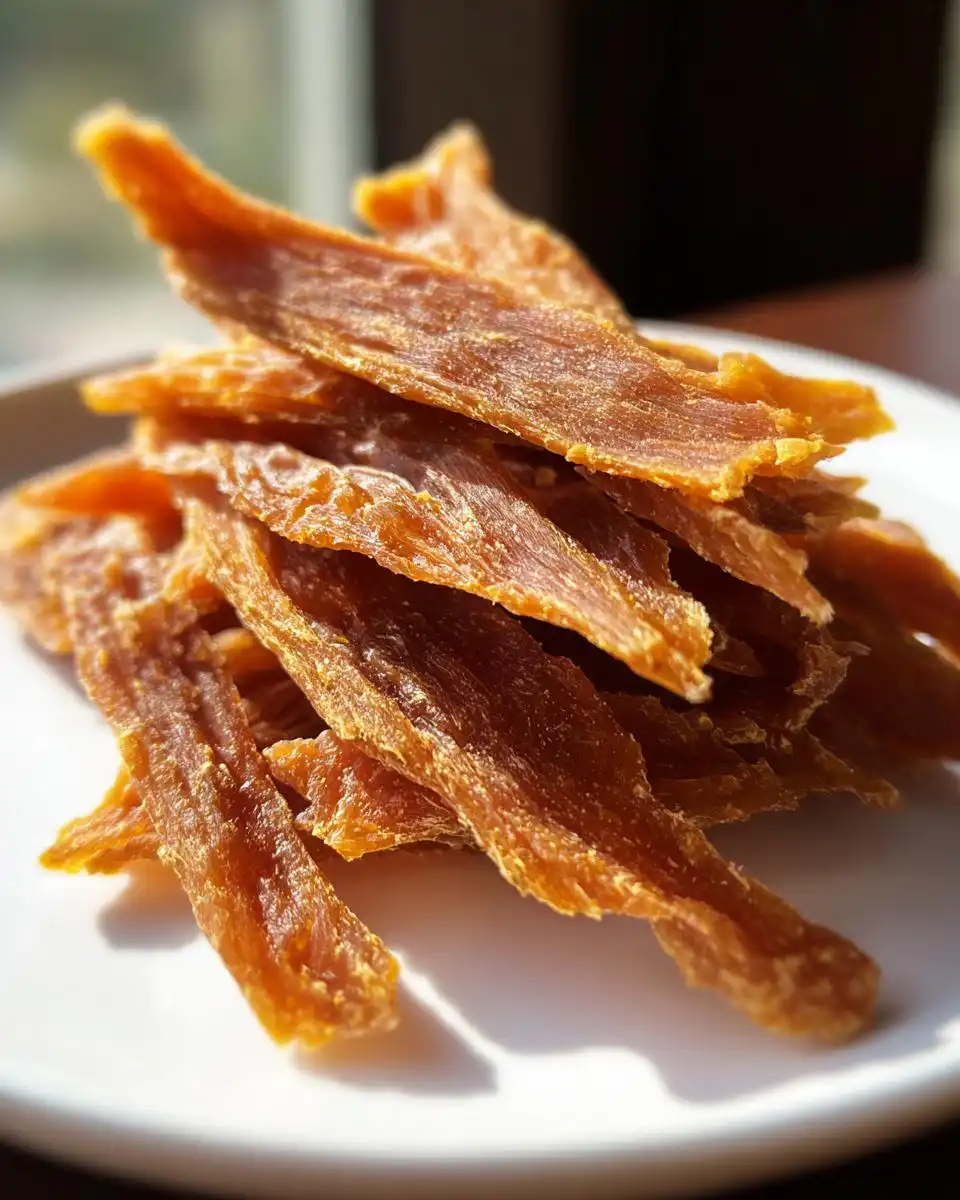
Once it’s firm, slice against the grain into strips that are about 1/8 to 1/4 inch thick. Thickness uniformity is everything here; if some pieces are fat and others are skinny, the skinny ones will turn to dust while the fat ones are still squishy. Next, lay those strips onto your dehydrator trays. You absolutely cannot let them overlap! Air has to hit every surface so they dry evenly.
-
Drying Time and Doneness Test
Set your dehydrator to 160 degrees Fahrenheit (that’s 71 degrees Celsius). Keep them in there for about 6 to 8 hours, but start checking around the six-hour mark. How do you know they’re done? Give one a test! If it bends without snapping, it needs more time. But if it snaps cleanly in half—ding ding ding!—it’s perfect. If it feels damp or tears mushy, they need more time on the trays.
Tips for Success with Natural Dog Treat Recipes
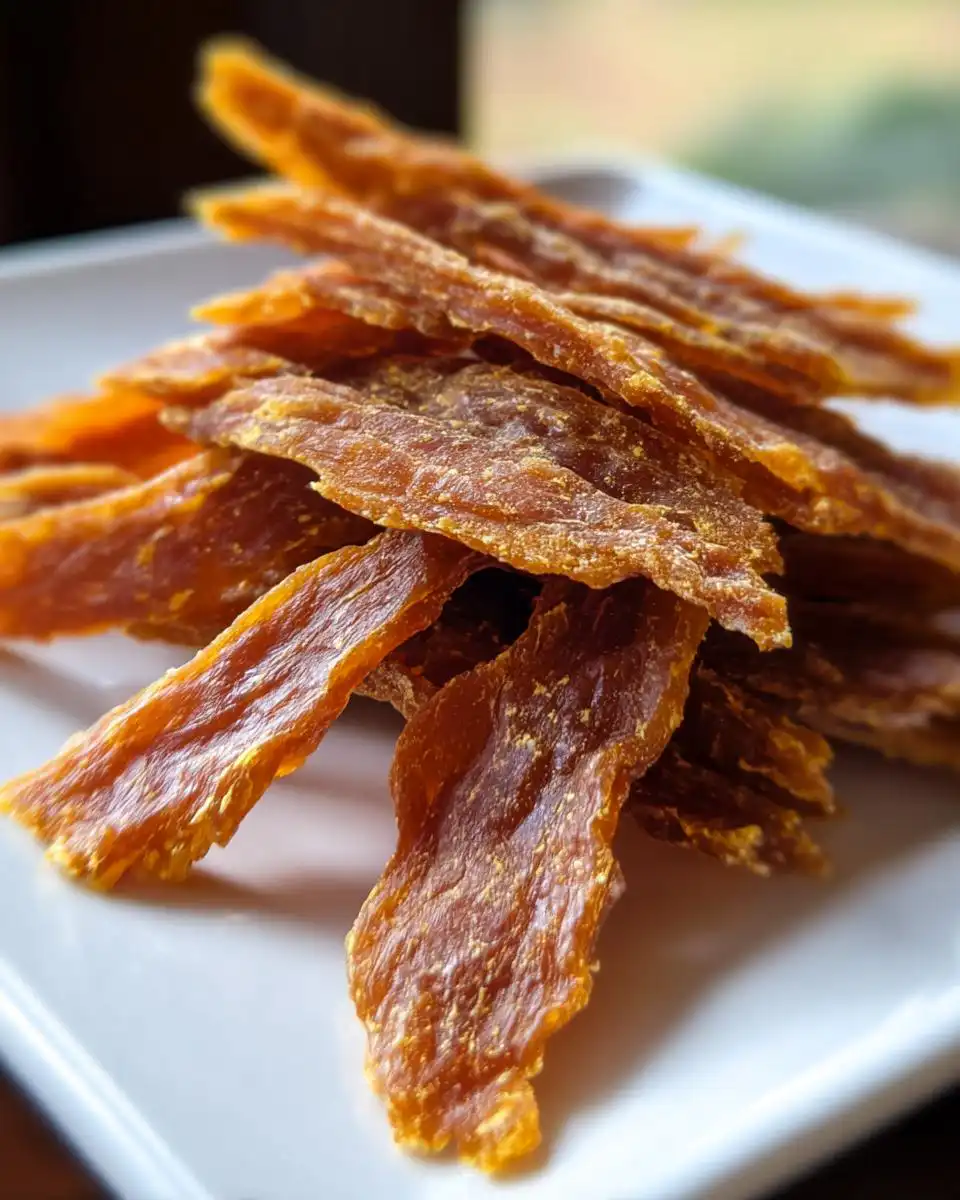
Making **Natural Dog Treat Recipes** like this jerky is all about mastering consistency. If you get the prep right, the dehydrator does all the heavy lifting for you, and you end up with fantastic, chewy snacks every time. Humidity in your kitchen can change things, so always trust your eyes and your hands over the clock! If you want to branch out from straight chicken, these apple cranberry chews are a wonderful next step!
-
Achieving Uniformity in Homemade Dog Treats
I can’t stress this enough: those early steps matter! If your slices are uneven, you’re guaranteeing an uneven dry time. When I’m being super precise, I sometimes use a small ruler to gauge the thickness before I slice, just to make sure everything lines up perfectly at that 1/8 inch mark. Uniform slices mean consistent results among all your **Homemade Dog Treats**.
Also, if your slices seem overly wet when you start, you might want to place a sheet of parchment paper on the bottom tray (not covering the vent holes, mind you!) just to catch any minor drips before they mess with your air circulation. It’s a small thing, but it keeps the process cleaner!
Storage and Shelf Life for Your Healthy Chicken Jerky for Dogs (No Additives)
We’ve made the perfect batch of **Healthy Chicken Jerky for Dogs (No Additives)**, now we have to keep those precious treats safe! Since we skipped all those scary preservatives, these need a little special attention to stay fresh.
Make sure your jerky is totally cool before you put it away, okay? Store the finished jerky in an airtight container—a Mason jar works great for me—and keep it in the refrigerator. They should last about two weeks this way.
If you made a giant batch because your dog deserves the best, you can totally freeze them up to three months. If you wanted to try something different next time, check out my cranberry chicken gel treats recipe!
Always give them a quick sniff test before handing one over, just to be sure everything is still perfect!
Frequently Asked Questions About Dog Jerky Recipes
I know once you start making your own **Dog Jerky Recipes**, you get hooked! But naturally, questions pop up about safety and changes. It’s smart to ask! Here are the things I hear most often when people start making these **Dog Treats for Chewing** for their pals. If you love making treats, you might also want to check out my main homemade dog treats page for more inspiration!
-
Can I make Healthy Chicken Jerky for Dogs (No Additives) in an oven instead of a dehydrator?
You totally can, but I want to be honest—it’s trickier! If you use an oven, you must set it to the absolute lowest temperature your oven allows, usually around 170°F or lower. You also need to prop the door open a tiny bit with a wooden spoon so moisture can escape. If you don’t, you’re essentially baking the chicken instead of drying it, and you might end up with cooked nuggets instead of true jerky. The dehydrator just gives you a more consistent result for this type of recipe.
-
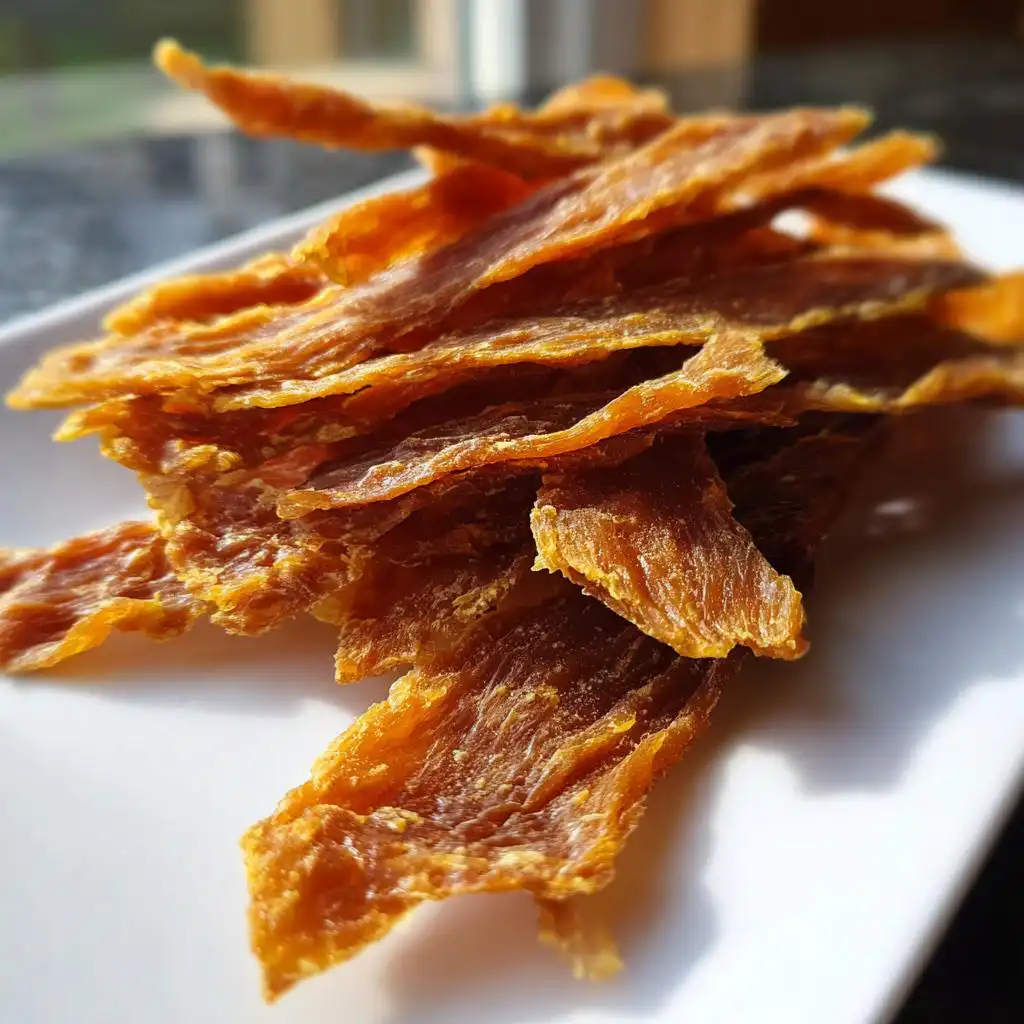
Is it safe to feed my dog jerky that snaps instead of bends?
Yes, absolutely! When you’re making **DIY Dog Treats** without chemical preservatives, the dryness level is what keeps them safe during storage. A chew that bends means it still has a bit of moisture, so you must keep those refrigerated or frozen. If your **Dehydrated Dog Treats** snap cleanly when you try to bend them, that means it’s fully dried, which is the safest state for long-term storage at room temperature (though I still recommend the fridge just to be extra cautious!).
Keep experimenting! Once you nail this basic recipe, you’ll feel ready to try anything!
Estimated Nutritional Snapshot of Healthy Dog Treats Homemade
Okay, since we are only using pure, lean chicken breast here, these **Healthy Dog Treats Homemade** are gloriously simple nutrition-wise! Remember, these numbers are just estimates because we’re dealing with raw meat weights and drying loss, but it gives you a great idea of what you’re handing over for a snack.
For one serving batch, look at what we’ve got:
- Calories: About 100
- Protein: A whopping 20 grams!
- Fat: Very low, around 1 gram
- Carbohydrates: Zero – perfect!
- Sodium: Only about 50 mg
It’s fantastic, right? Just pure muscle-building goodness. If you’re looking for more ways to boost your pup’s overall health with fresh food, take a peek at my full list of healthy dog food recipes for more ideas!
Share Your DIY Dog Treats Experience
Look, seeing those tails wag after they’ve demolished a batch of **DIY Dog Treats** is honestly the best reward for all that slicing work! I really hope you and your pup have a blast with this recipe. Once you’ve let them cool and tucked them away safely, come back and let me know how it went!
Did your dog sniff them out immediately? How did they like the texture of these **Healthy Chicken Jerky for Dogs (No Additives)**? I absolutely love seeing photos of happy customers enjoying their snacks, so please share a picture if you can! And hey, if you’re looking for something completely different to spoil them with next, you should totally bookmark my dog-friendly cinnamon roll biscuits!
-
Meet the Author: Clara Reynolds
By Clara Reynolds – Canine Nutrition Writer
Clara Reynolds contributes to Happy Pup Kitchen with a focus on safe, wholesome ingredients for dogs. With her background in pet care and food writing, she ensures each recipe is practical, balanced, and easy for owners to recreate at home. Clara is passionate about helping dog lovers prepare treats that are both healthy and tail-waggingly delicious.
Healthy Chicken Jerky for Dogs (No Additives)
Ingredients
Equipment
Method
- Trim all visible fat from the chicken breasts. You want only lean meat for the best jerky results.
- Place the chicken breasts in the freezer for 30 to 60 minutes. This firms the meat, making it easier to slice thinly and uniformly.
- Slice the partially frozen chicken breasts against the grain into strips about 1/8 to 1/4 inch thick. Uniform thickness helps the jerky dry evenly.
- Arrange the chicken strips on your dehydrator trays. Ensure the pieces do not overlap so air can circulate around each strip.
- Set your dehydrator temperature to 160 degrees Fahrenheit (71 degrees Celsius). If your dehydrator does not reach this temperature, use the highest setting available.
- Dehydrate the chicken for 6 to 8 hours. Check the jerky periodically. The total time depends on the thickness of your slices and the humidity in your kitchen.
- The jerky is done when it is dry to the touch and bends without tearing. If it snaps cleanly, it is fully dried. If it feels moist or tears easily, continue drying.
- Turn off the dehydrator and allow the jerky to cool completely on the trays before storing.